
I am SO excited to show you the Before and After of our playroom/multi-purpose room!!! It has taken a year of work to get it to a place where I’m ready to share before and afters!
I know that this room isn’t going to be featured in a magazine and it certainly isn’t going to be a lot of times on Pinterest. BUT when you see how far it’s come, I think you might be able to appreciate it almost as much as I do! It’s such a fun room, and I love it!
It’s a really odd shaped room, and it’s hard to arrange the furniture in it, as it has three doorways and a set of stairs. It also has a closet under the stairs. As soon as Theo saw it, he called it a “Harry Potter closet” and as soon as I saw it, I knew I needed to turn it into a play area for Tera and all future children! The closet is still a work in progress, but it’s coming along!
But don’t mind me…I will let the pictures do the talking!
When we bought the house, this is what our playroom looked like:
You walked into the front door and bam! There was a wall. With a little window. The window was cut out so that the woodburning stove could still heat the rest of the house.

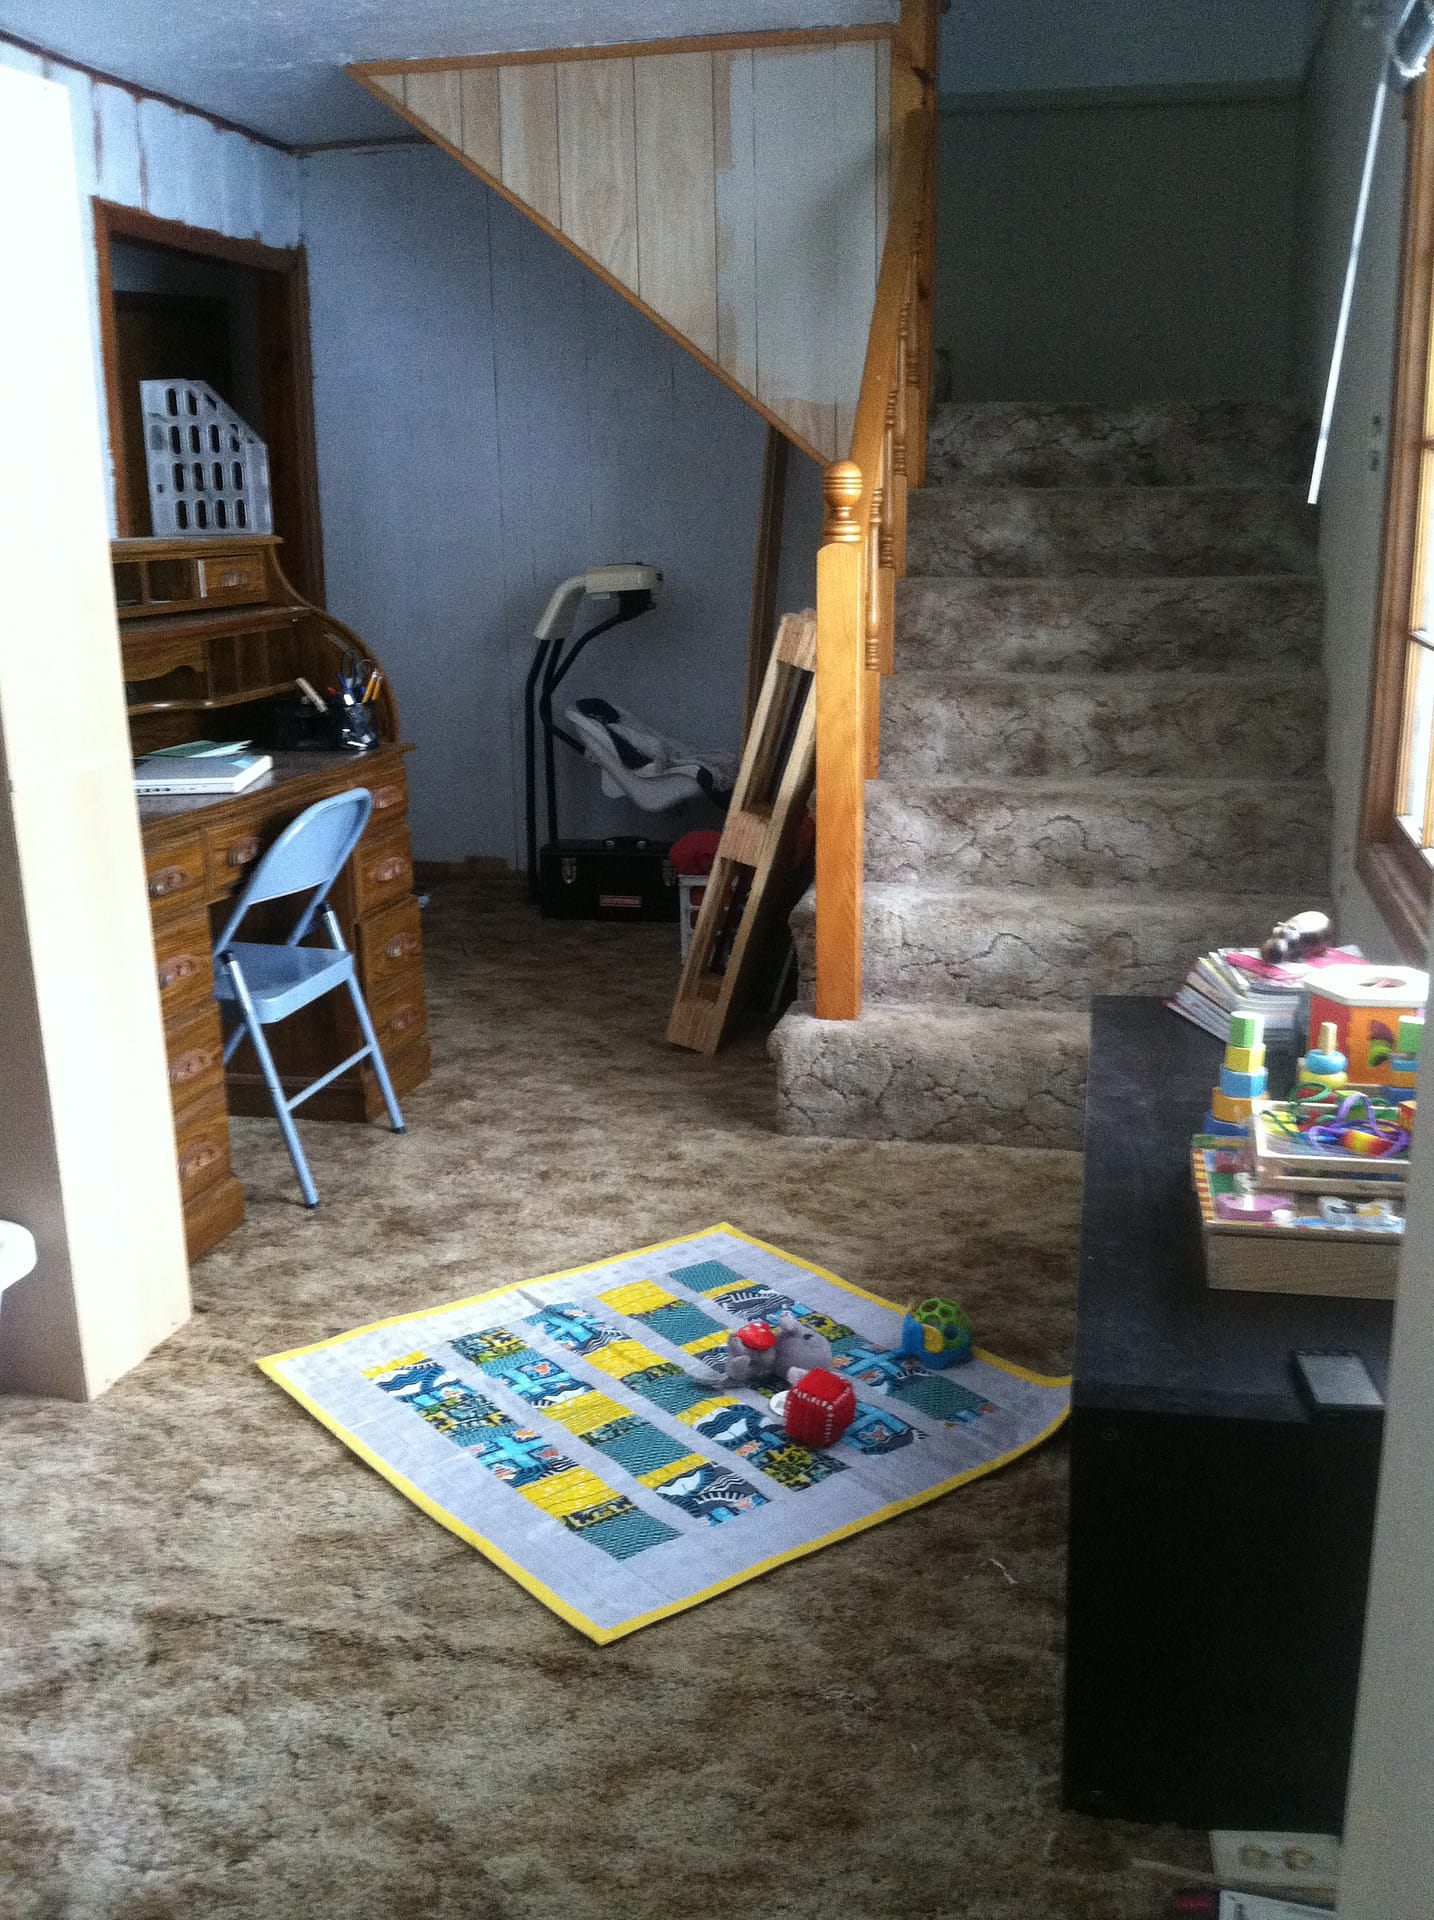
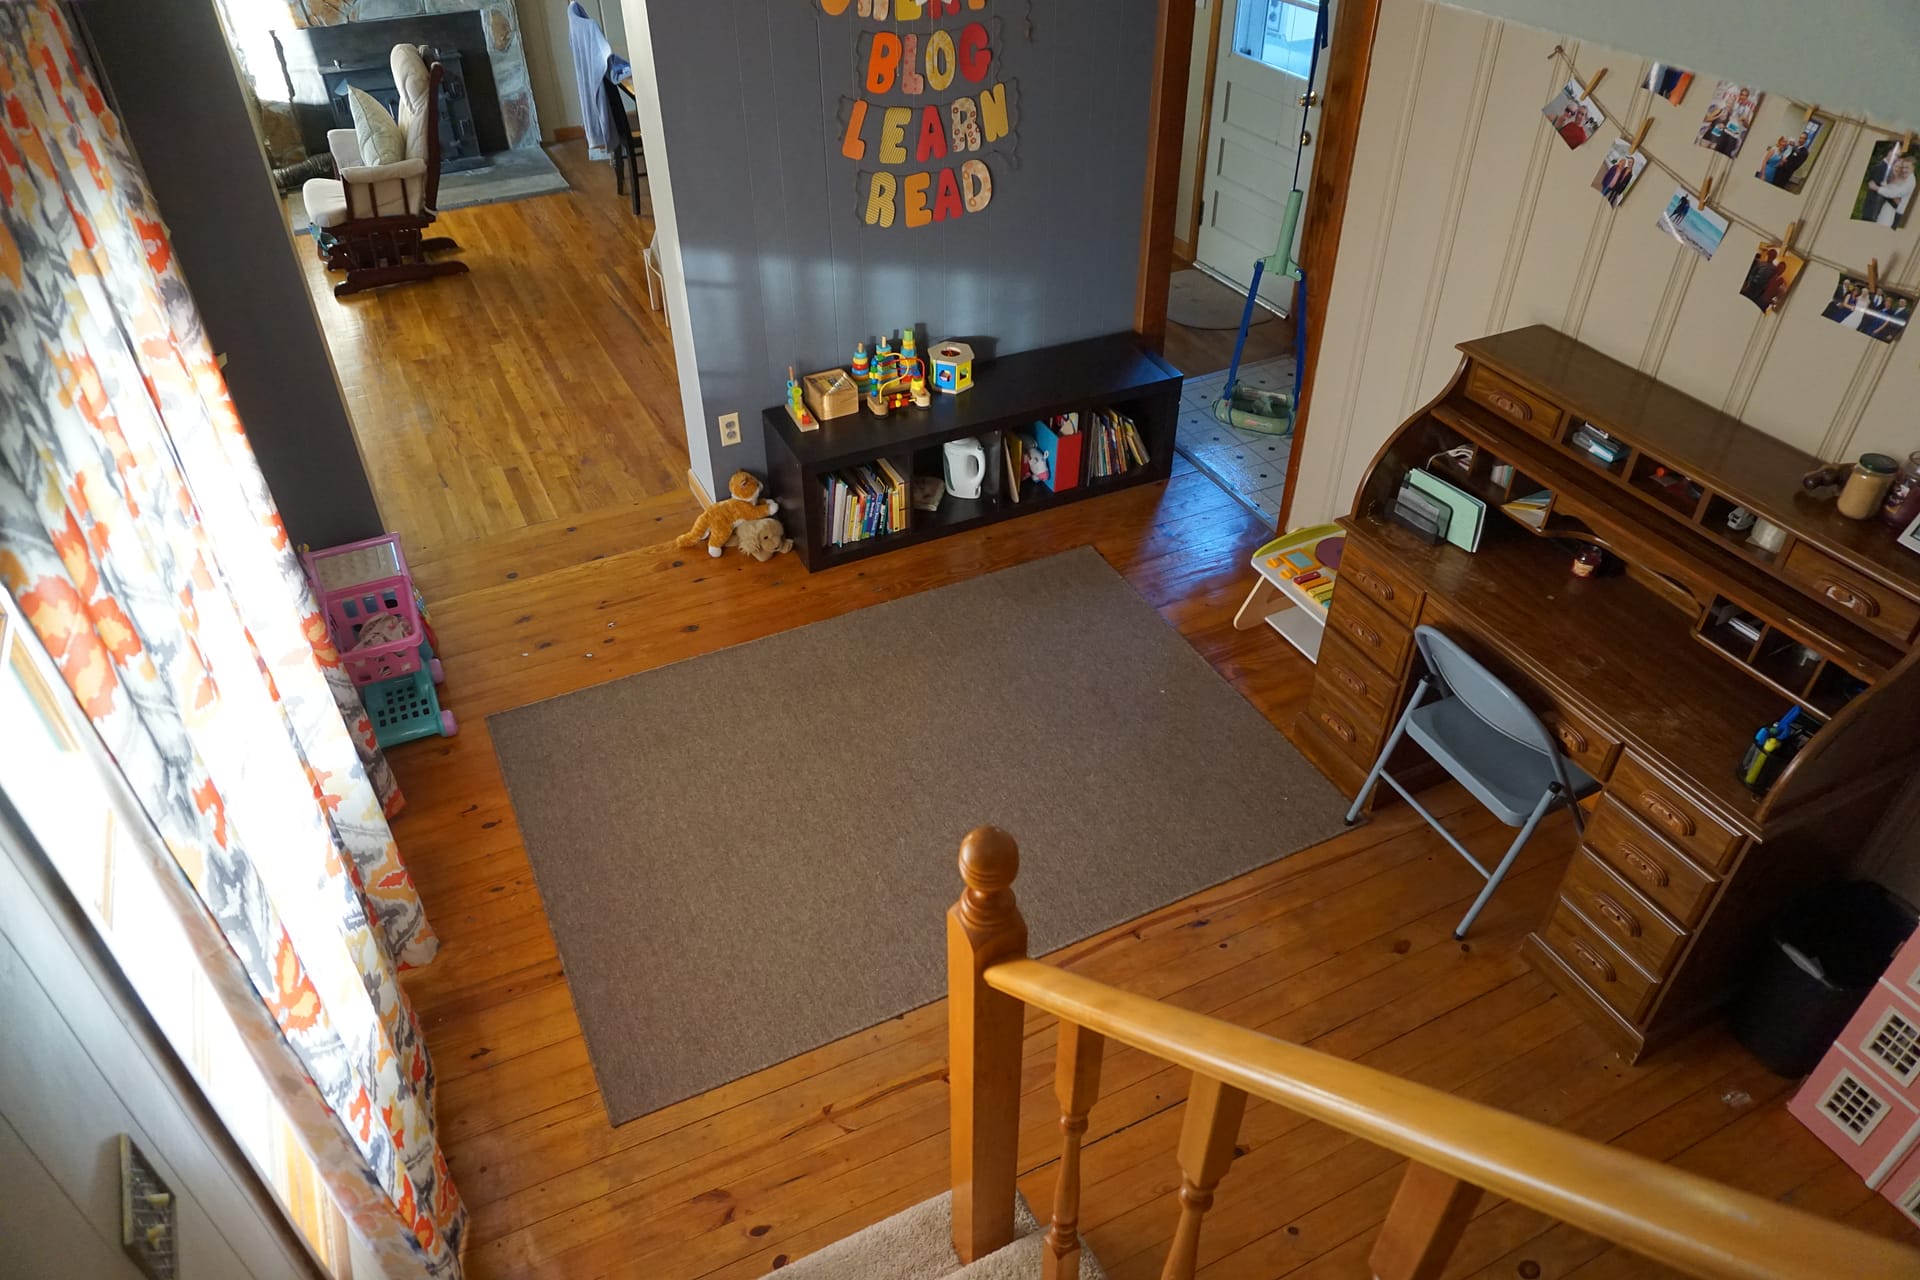
To get into the playroom, you had to go all the way around via the kitchen. Here is the room looking over into the living room. In this picture, the stairs are to the left, the kitchen is to the right and the spare bedrooms are behind us.

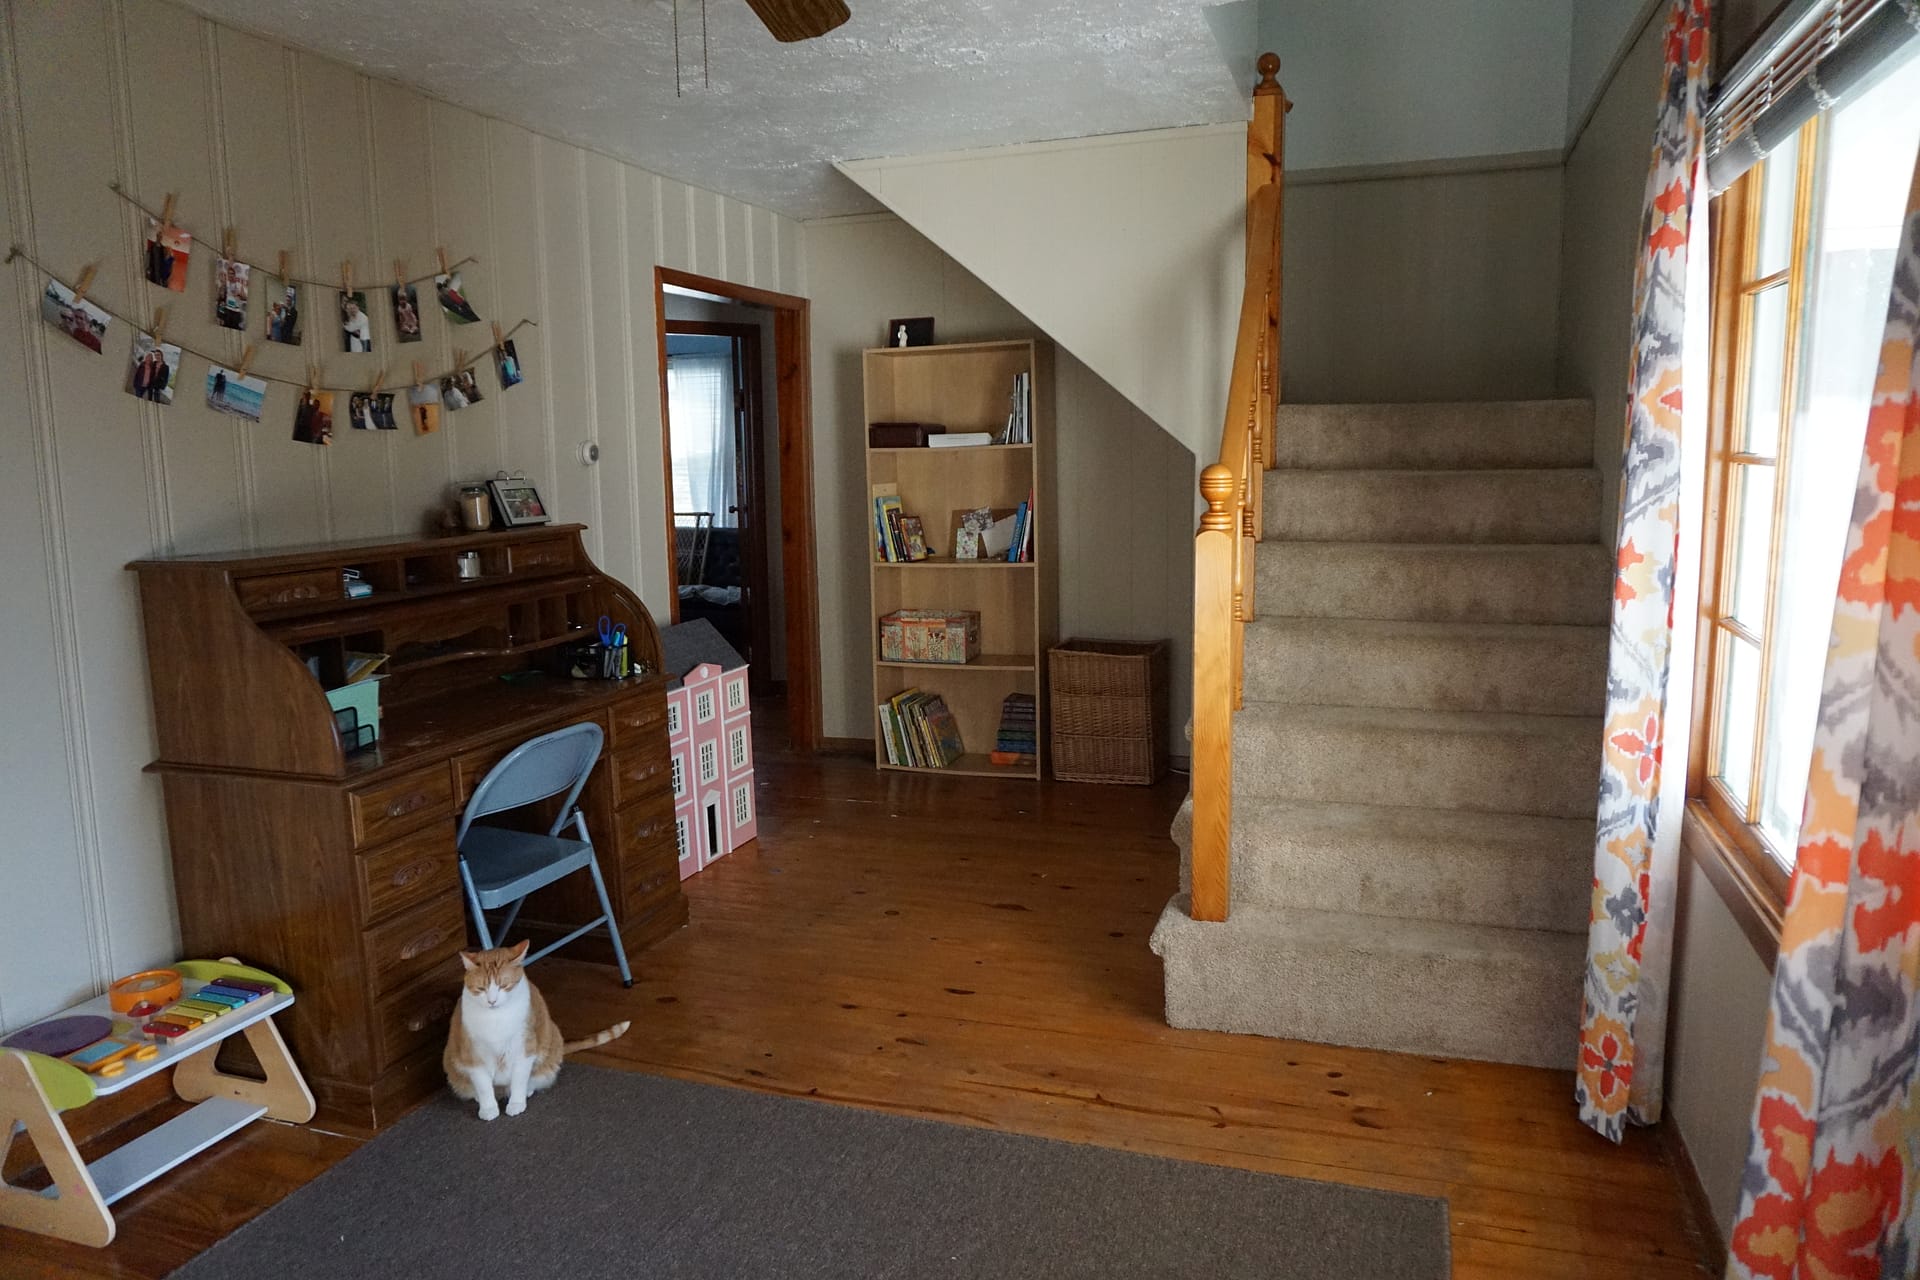
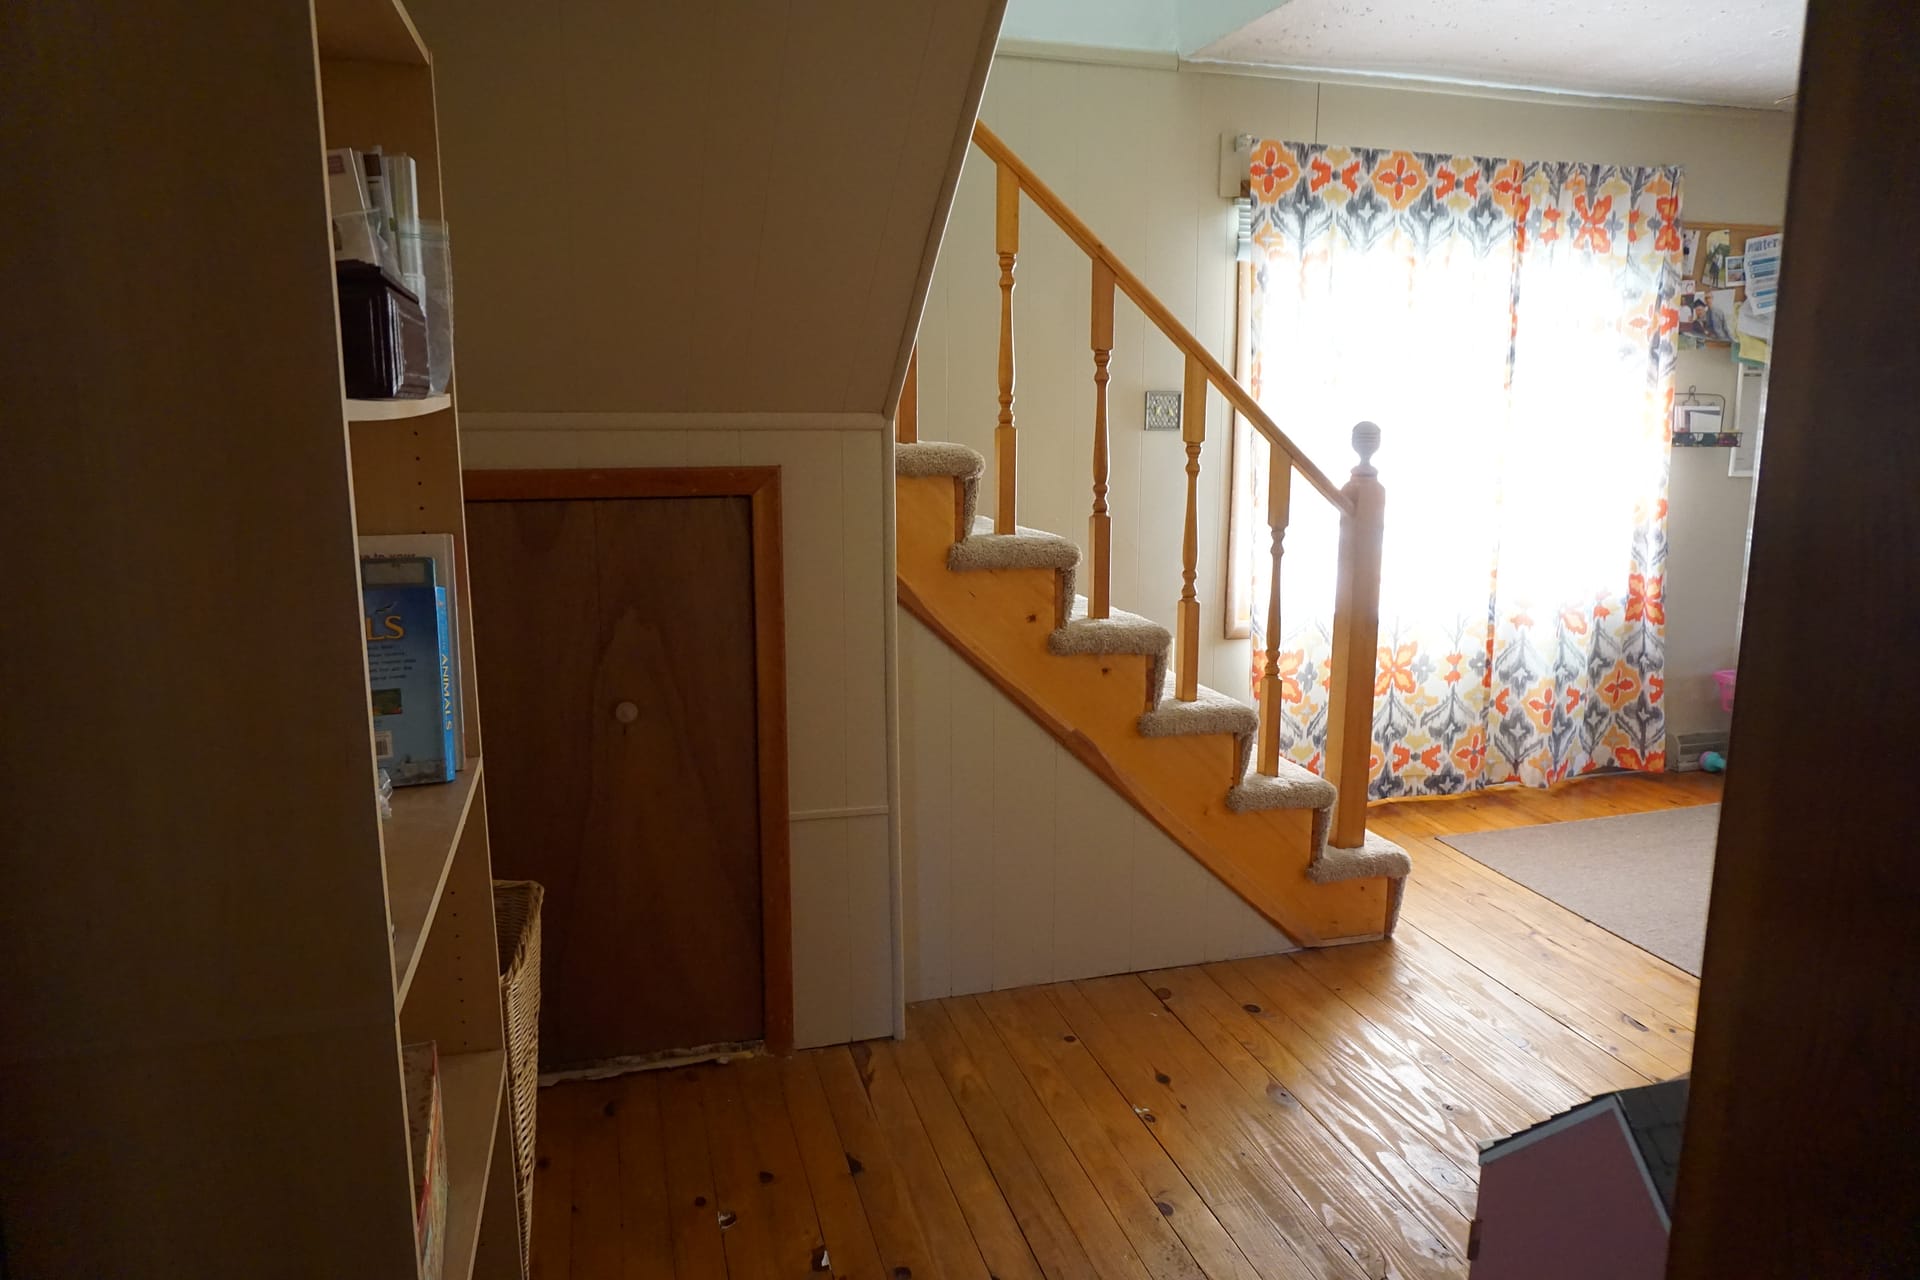
Here is the stairs. The kitchen is behind, the window wall to the right and the spare bedrooms to the left.

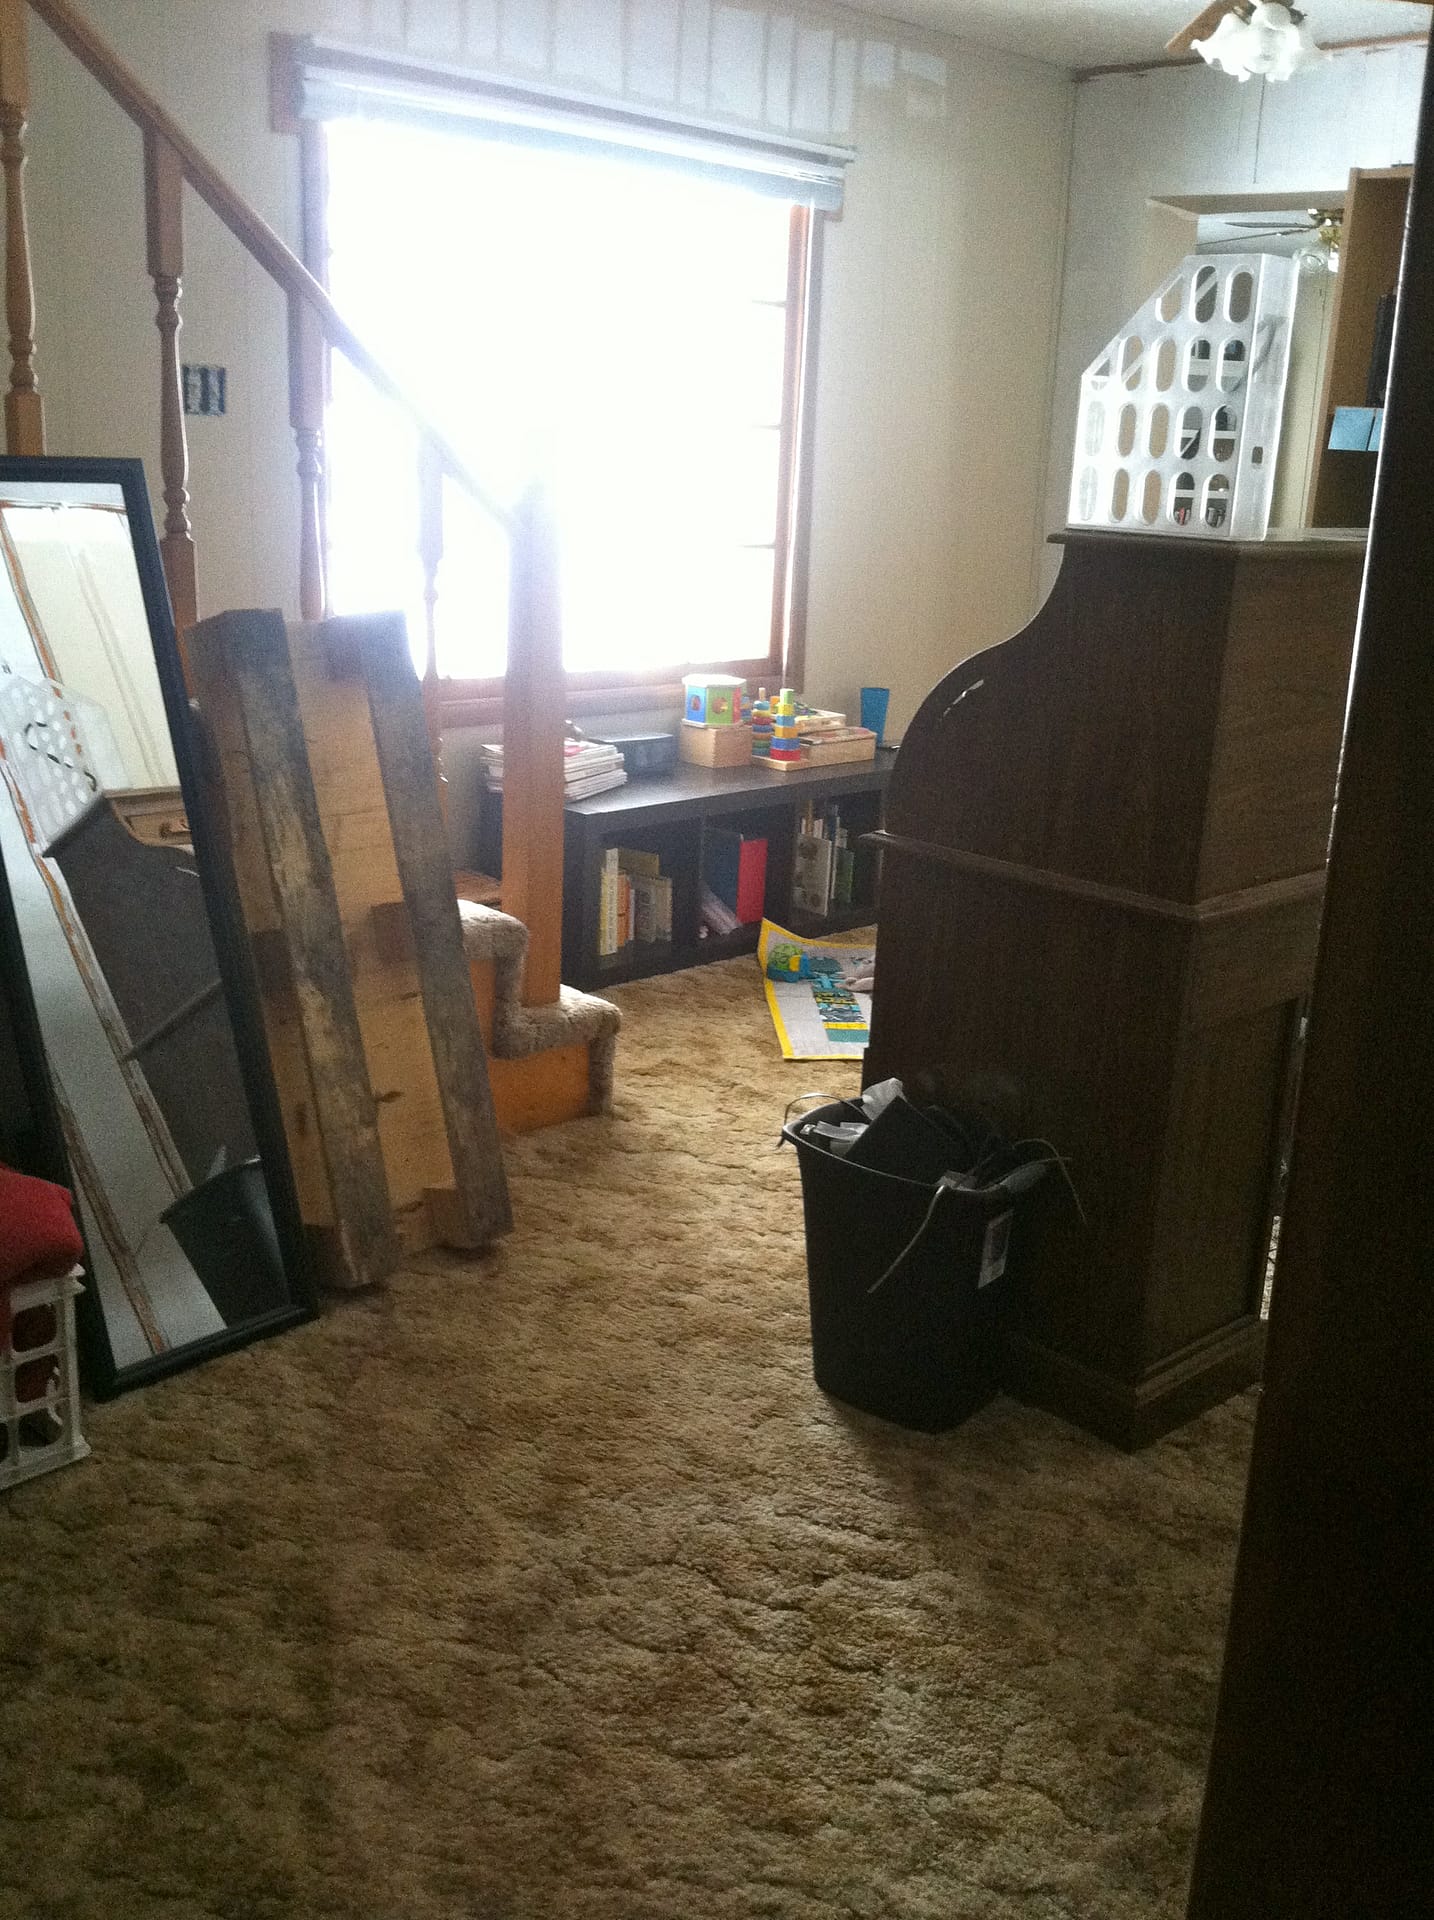
Looking back at the spare bedrooms. The kitchen is to the left, the stairs to the right and the window wall behind us.

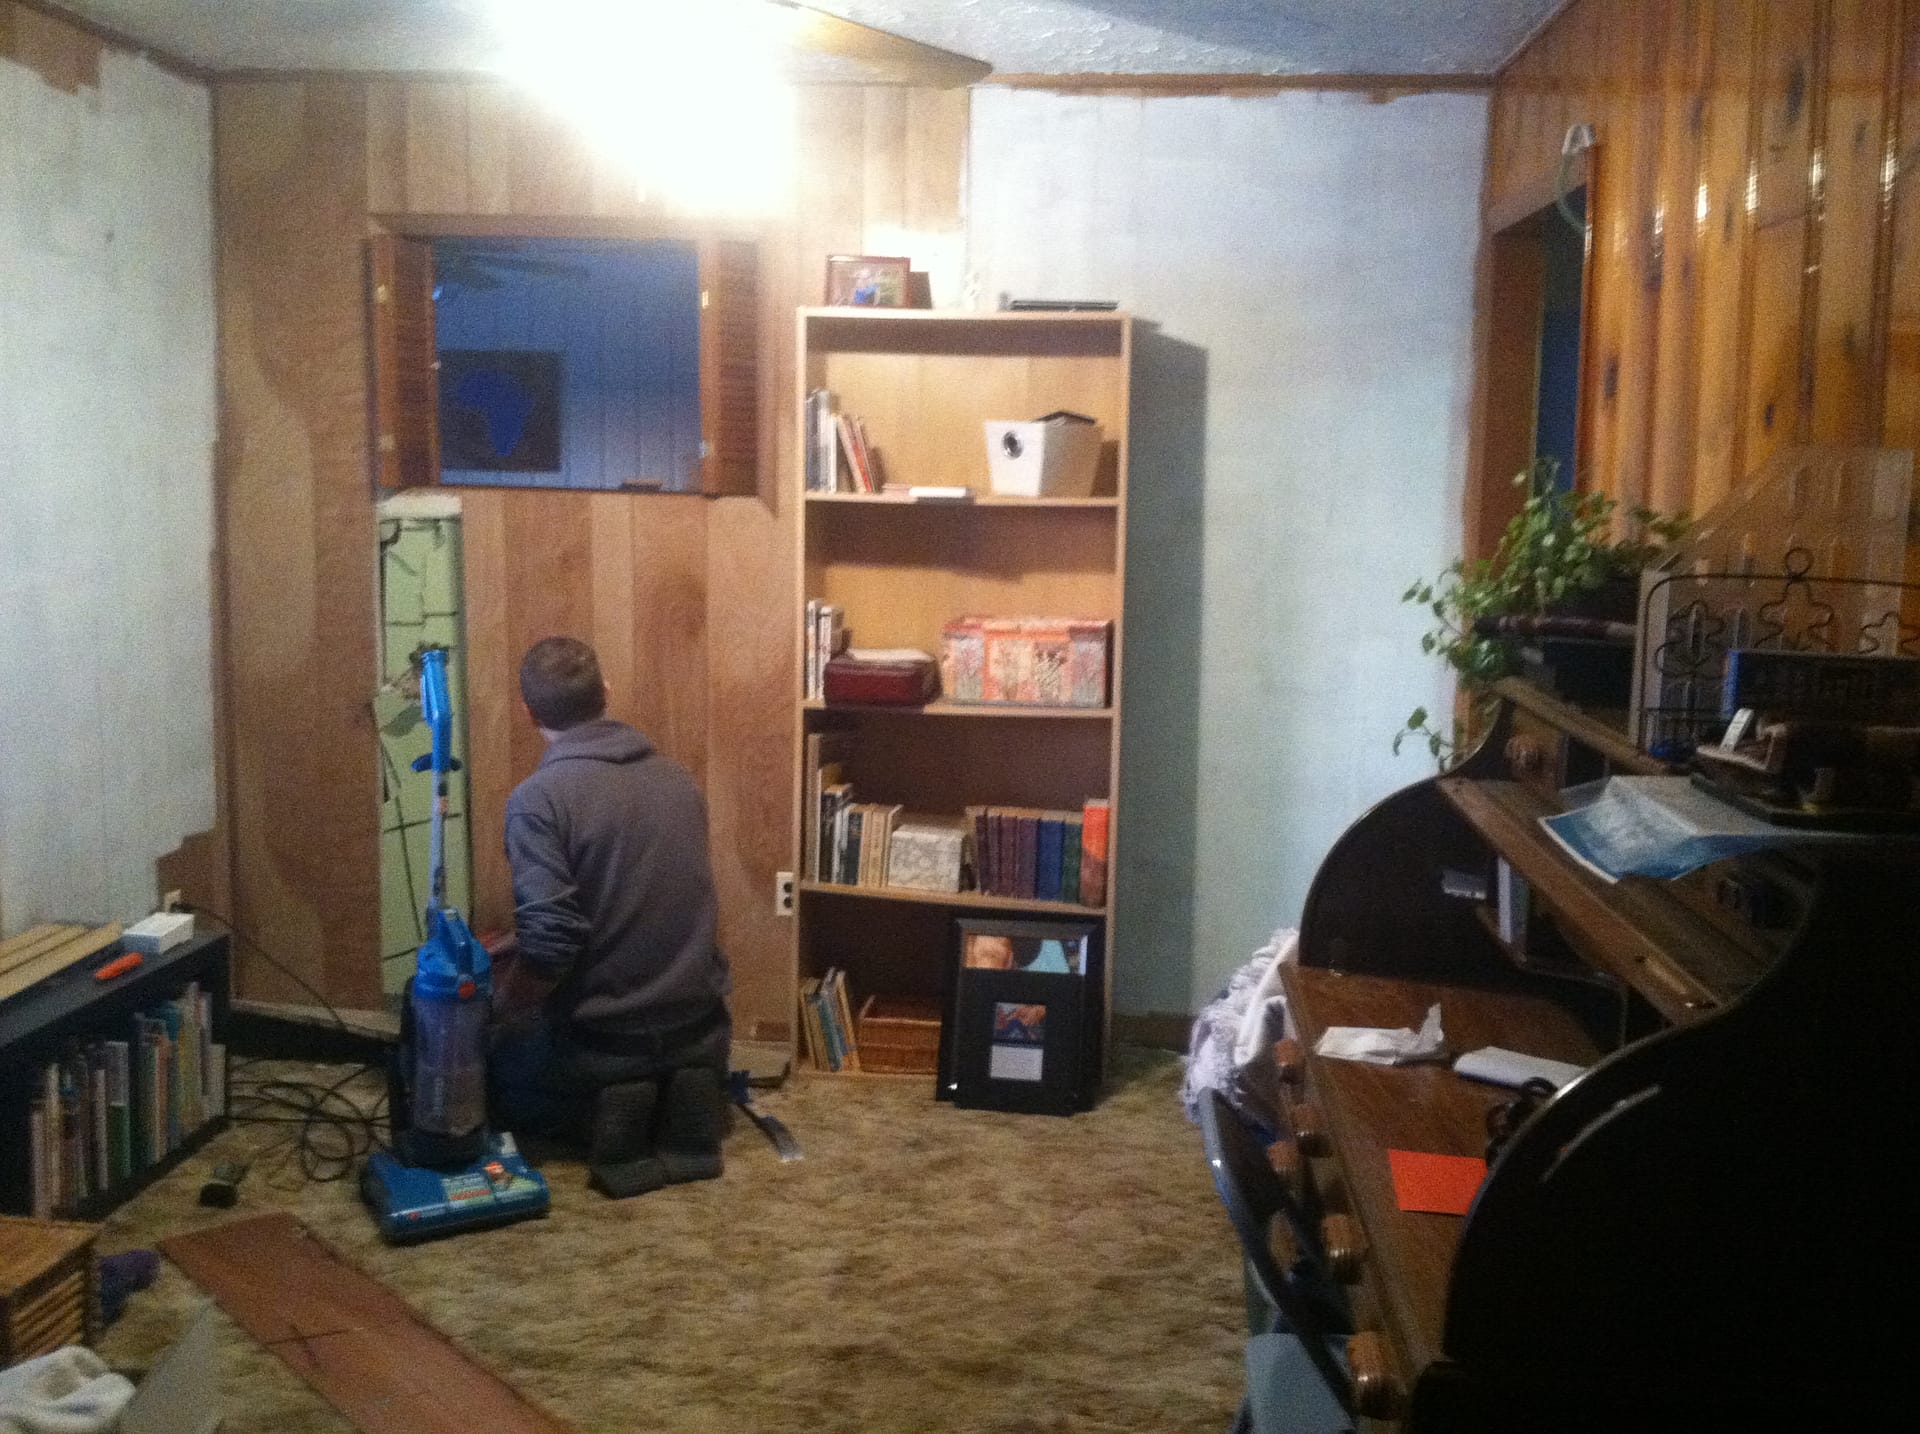
Let’s talk for a minute about the carpet and the walls. The ENTIRE room was wood paneling- one wall was legit wood (as seen in the picture below), and the other three walls were paneling. Yuck. The carpet was at least 50 years old, and although the owners kept it in perfect condition, it just HAD to go. We knew there were hardwood floors underneath, but we waited a long time to tear up the carpet because we wanted to paint and knock out a wall first.
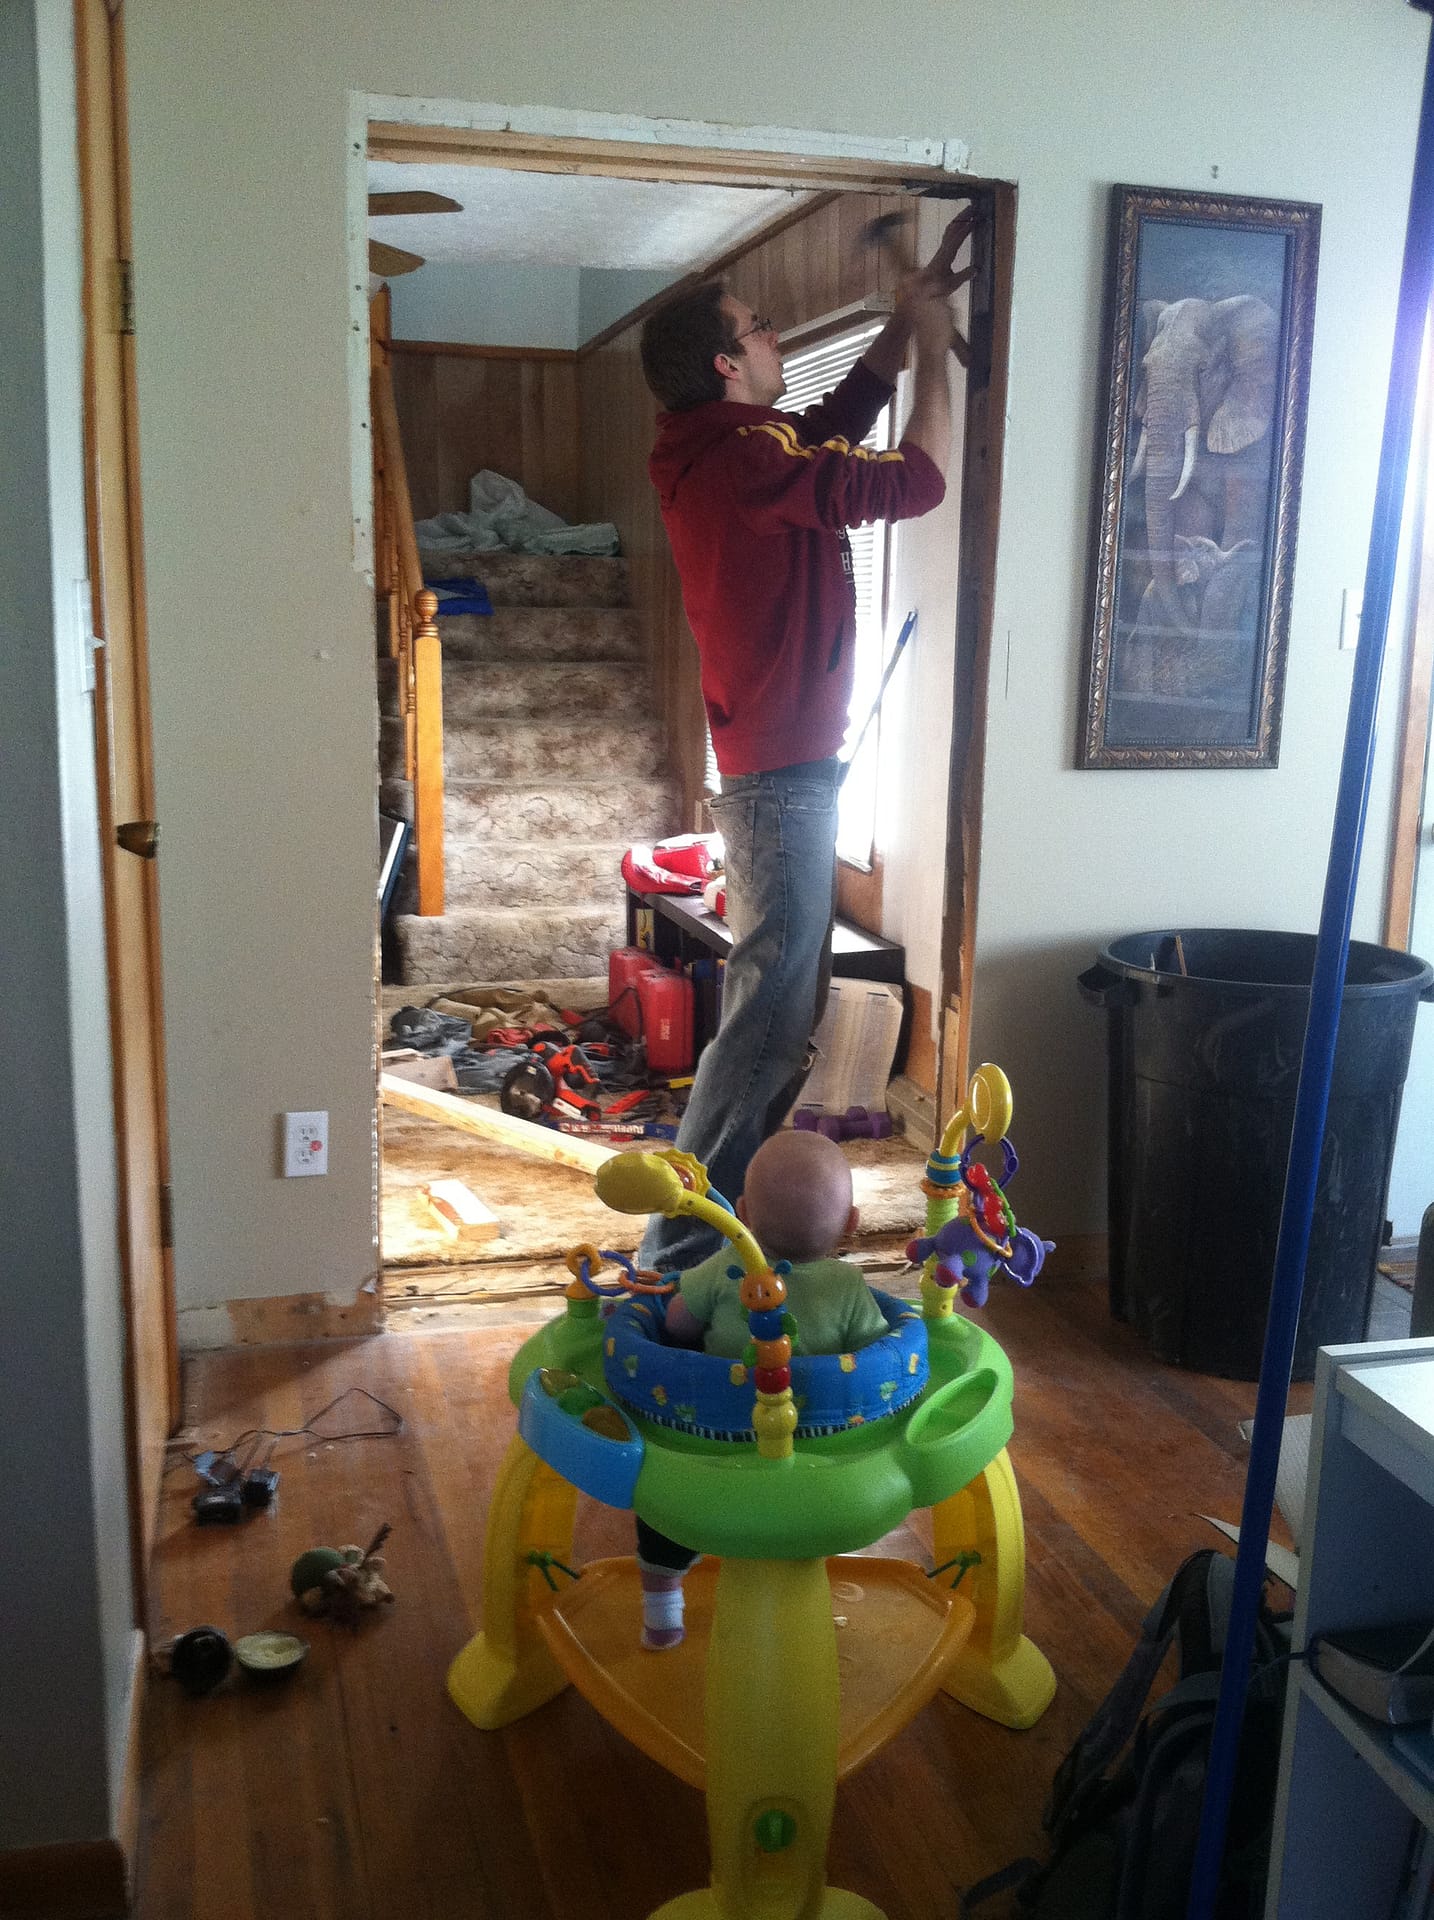
The first order of business was to cut out that window and make it into a doorway. For bearings: the kitchen is through that doorway to the right, the stairs are to the left and the spare bedrooms are behind us.
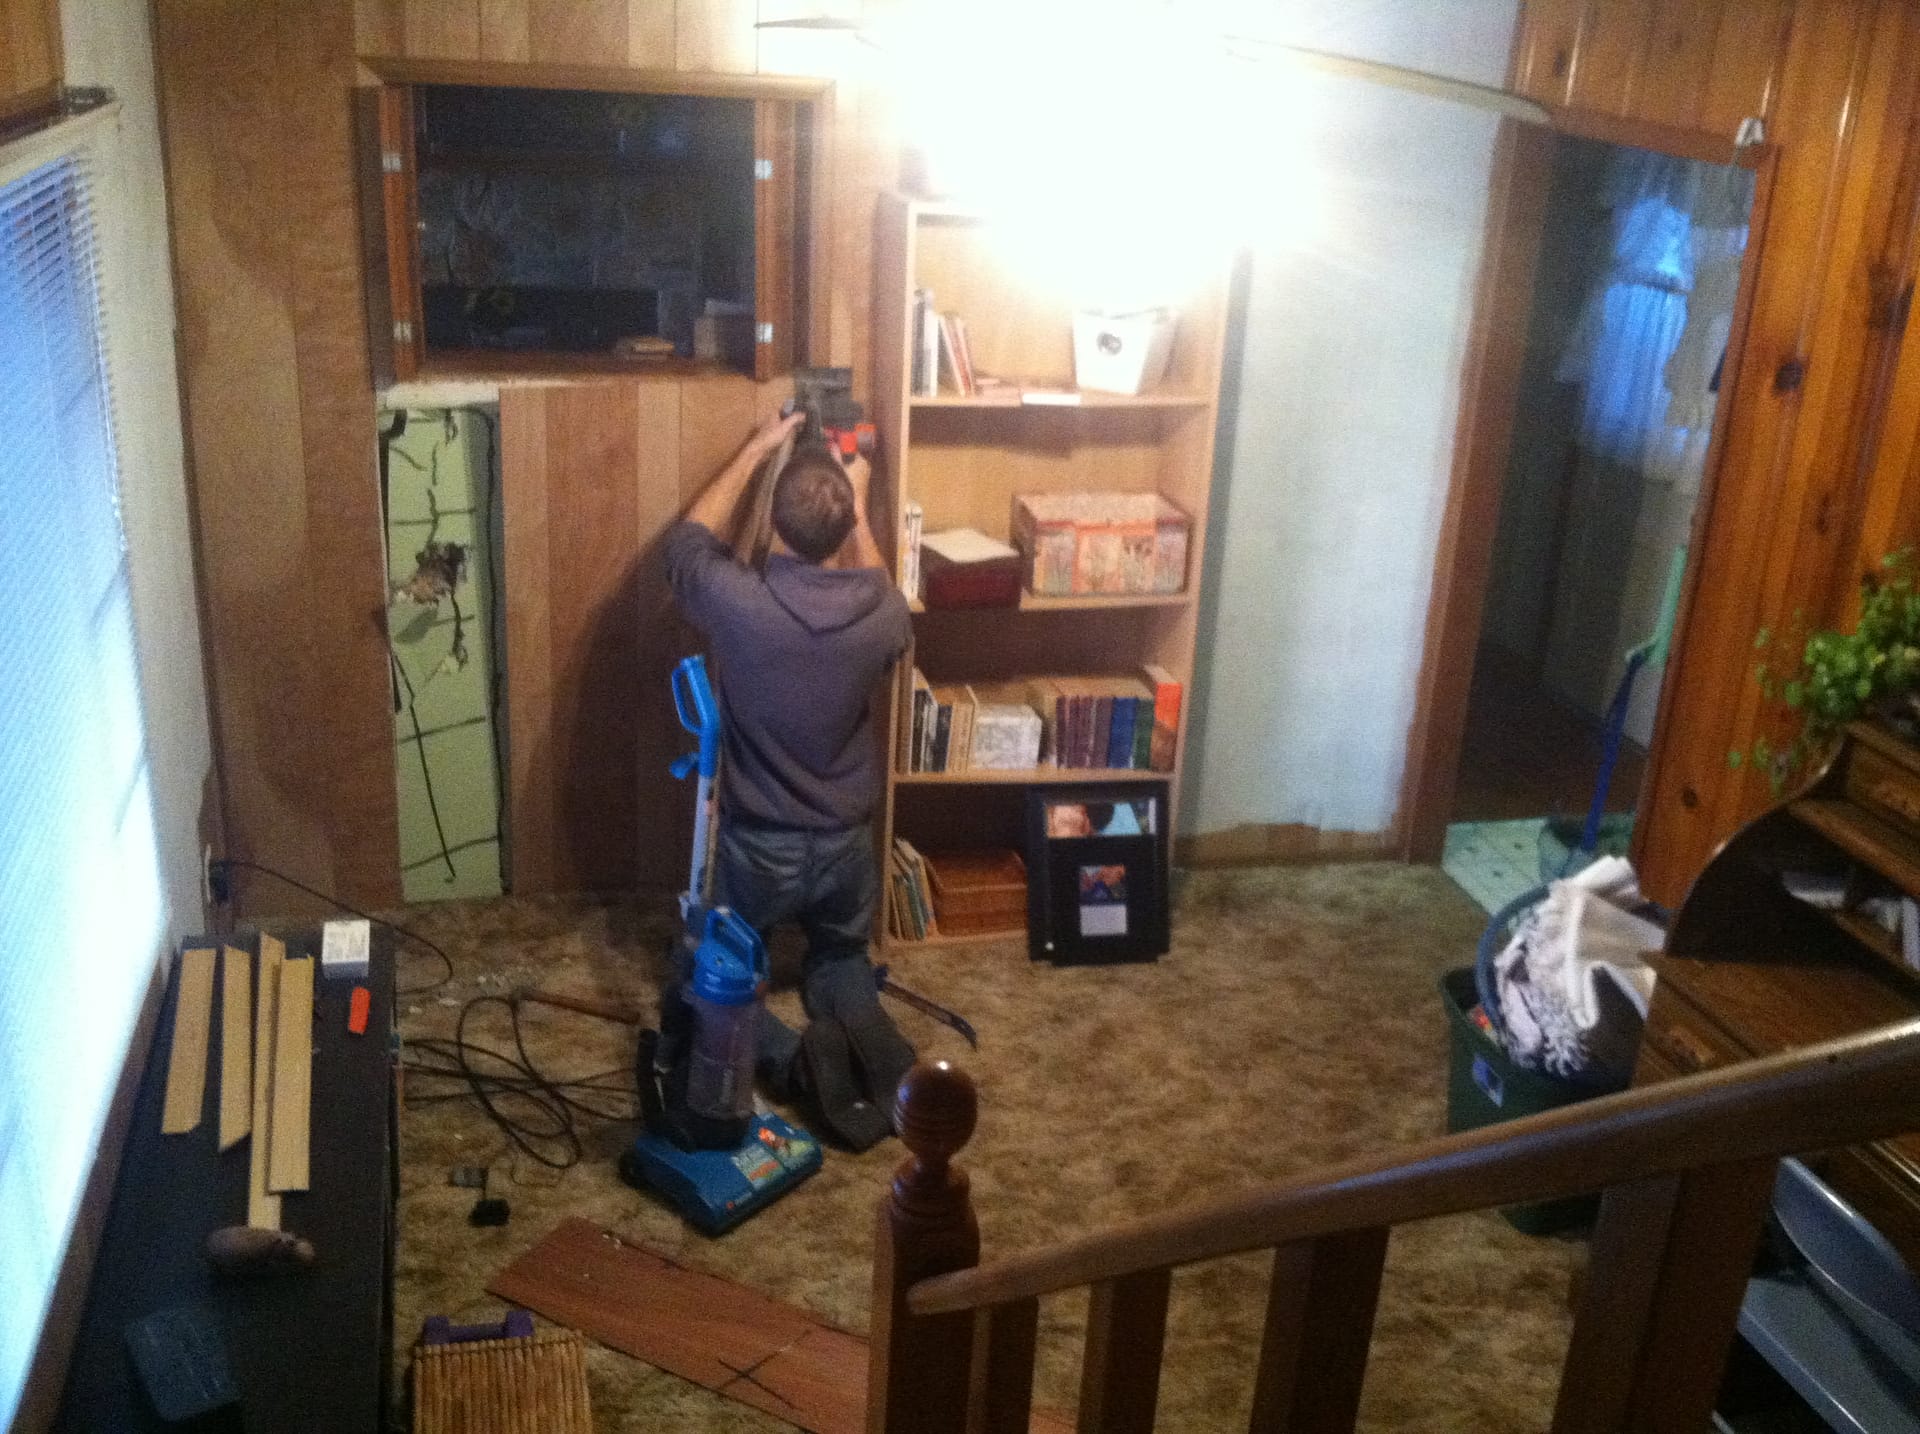
And the doorway is cut!!! Once Theo cut through he discovered that the wall we were cutting through used to be the outside wall to the house. It included several layers of drywall, wood, outside wood paneling and insulation.
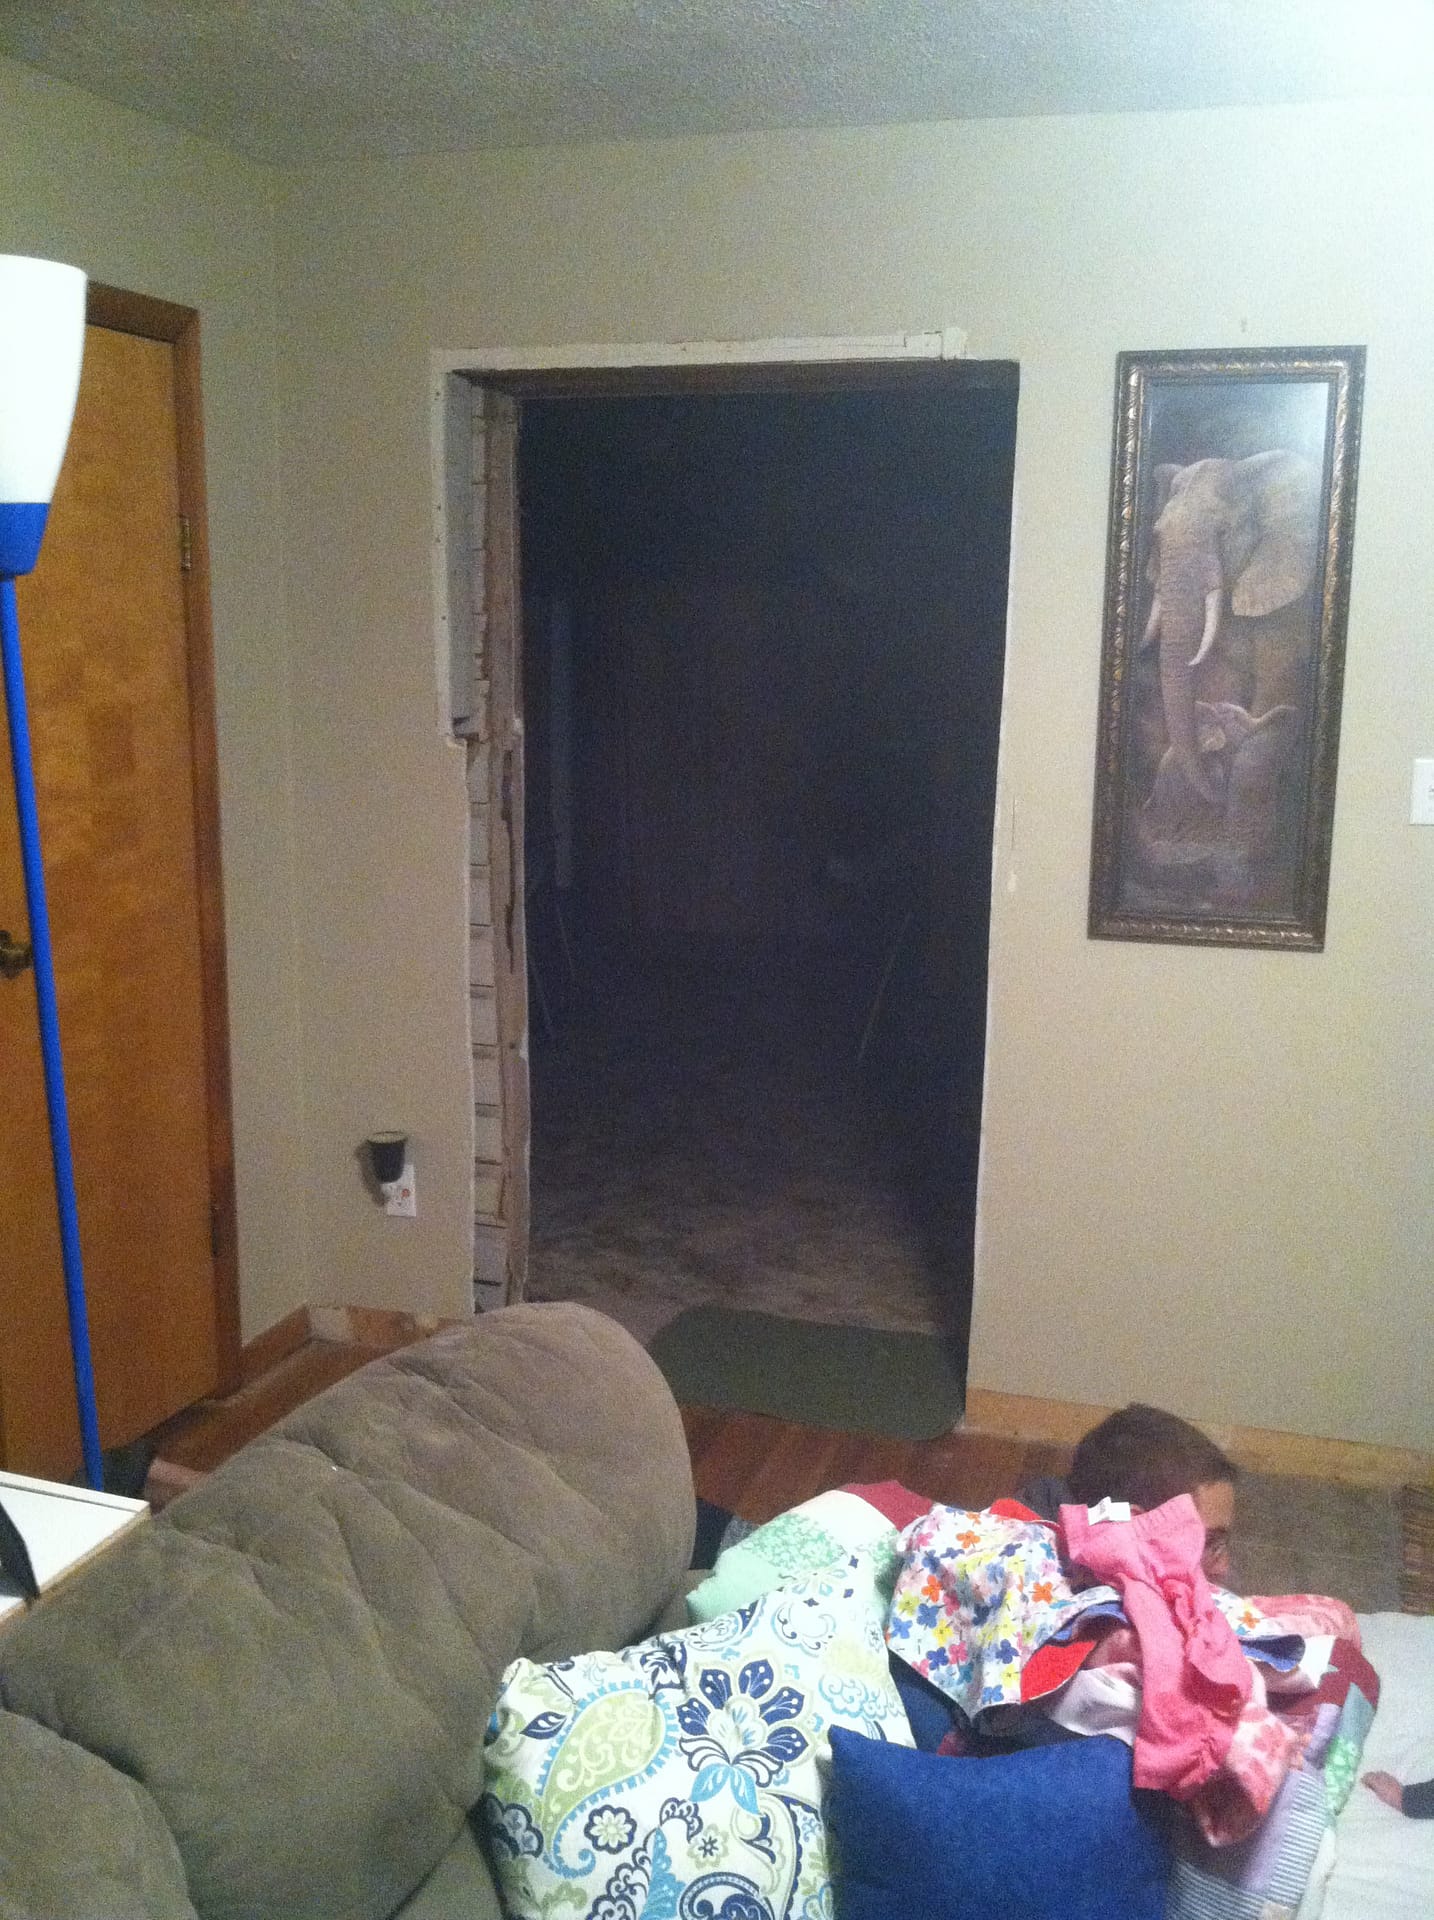
Theo worked hard to fix it up with plywood and drywall. It was also very drafty so he fixed that up, too.
Meanwhile, I was THRILLED to start painting and get rid of that paneling!
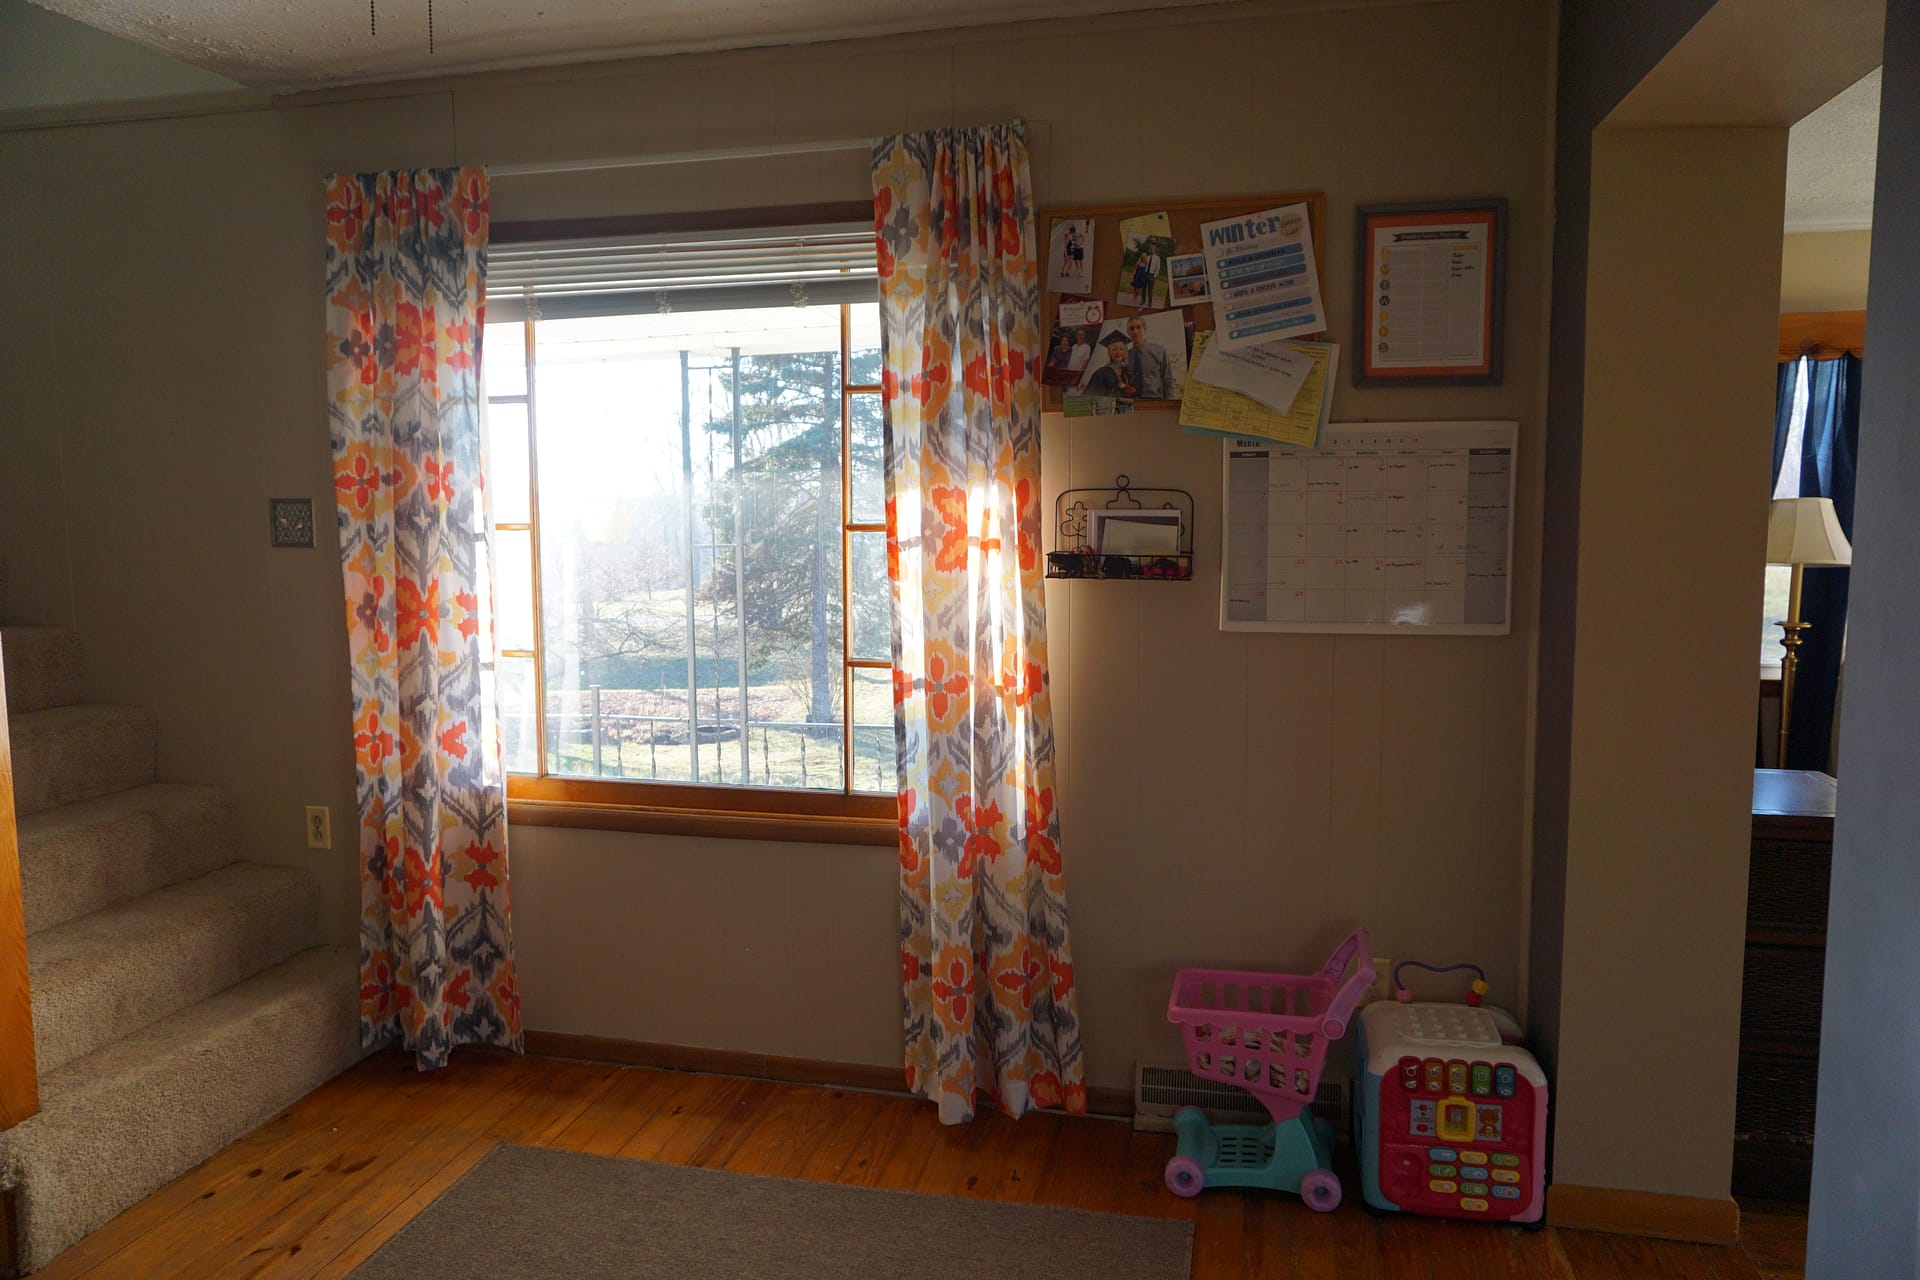
I hung some curtains and that made me feel better about the room, too.
More painting, and then we ripped up the carpet!!!
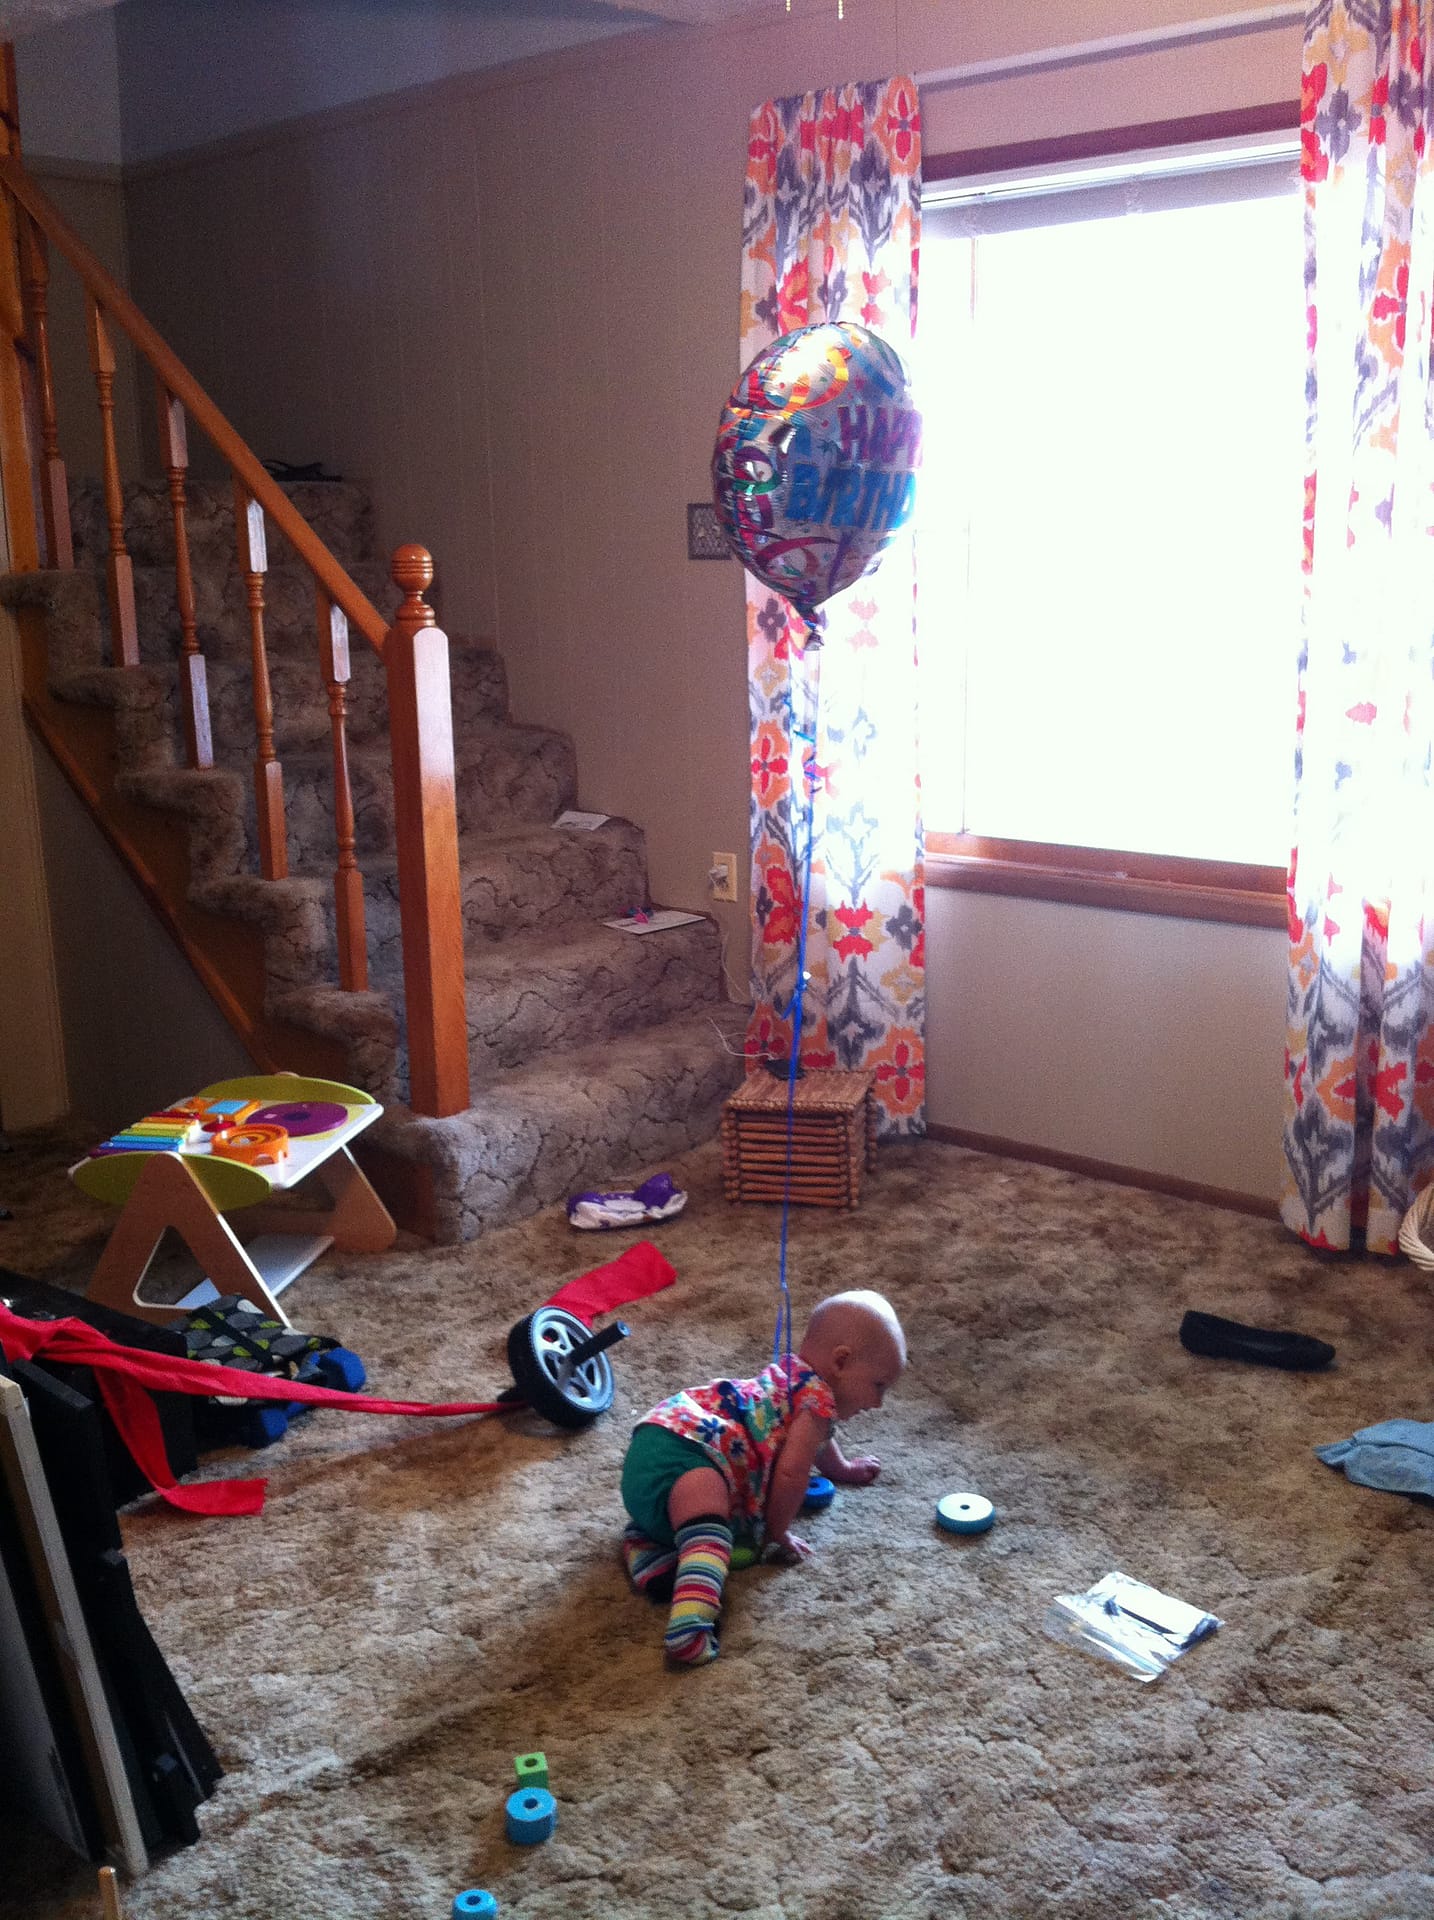
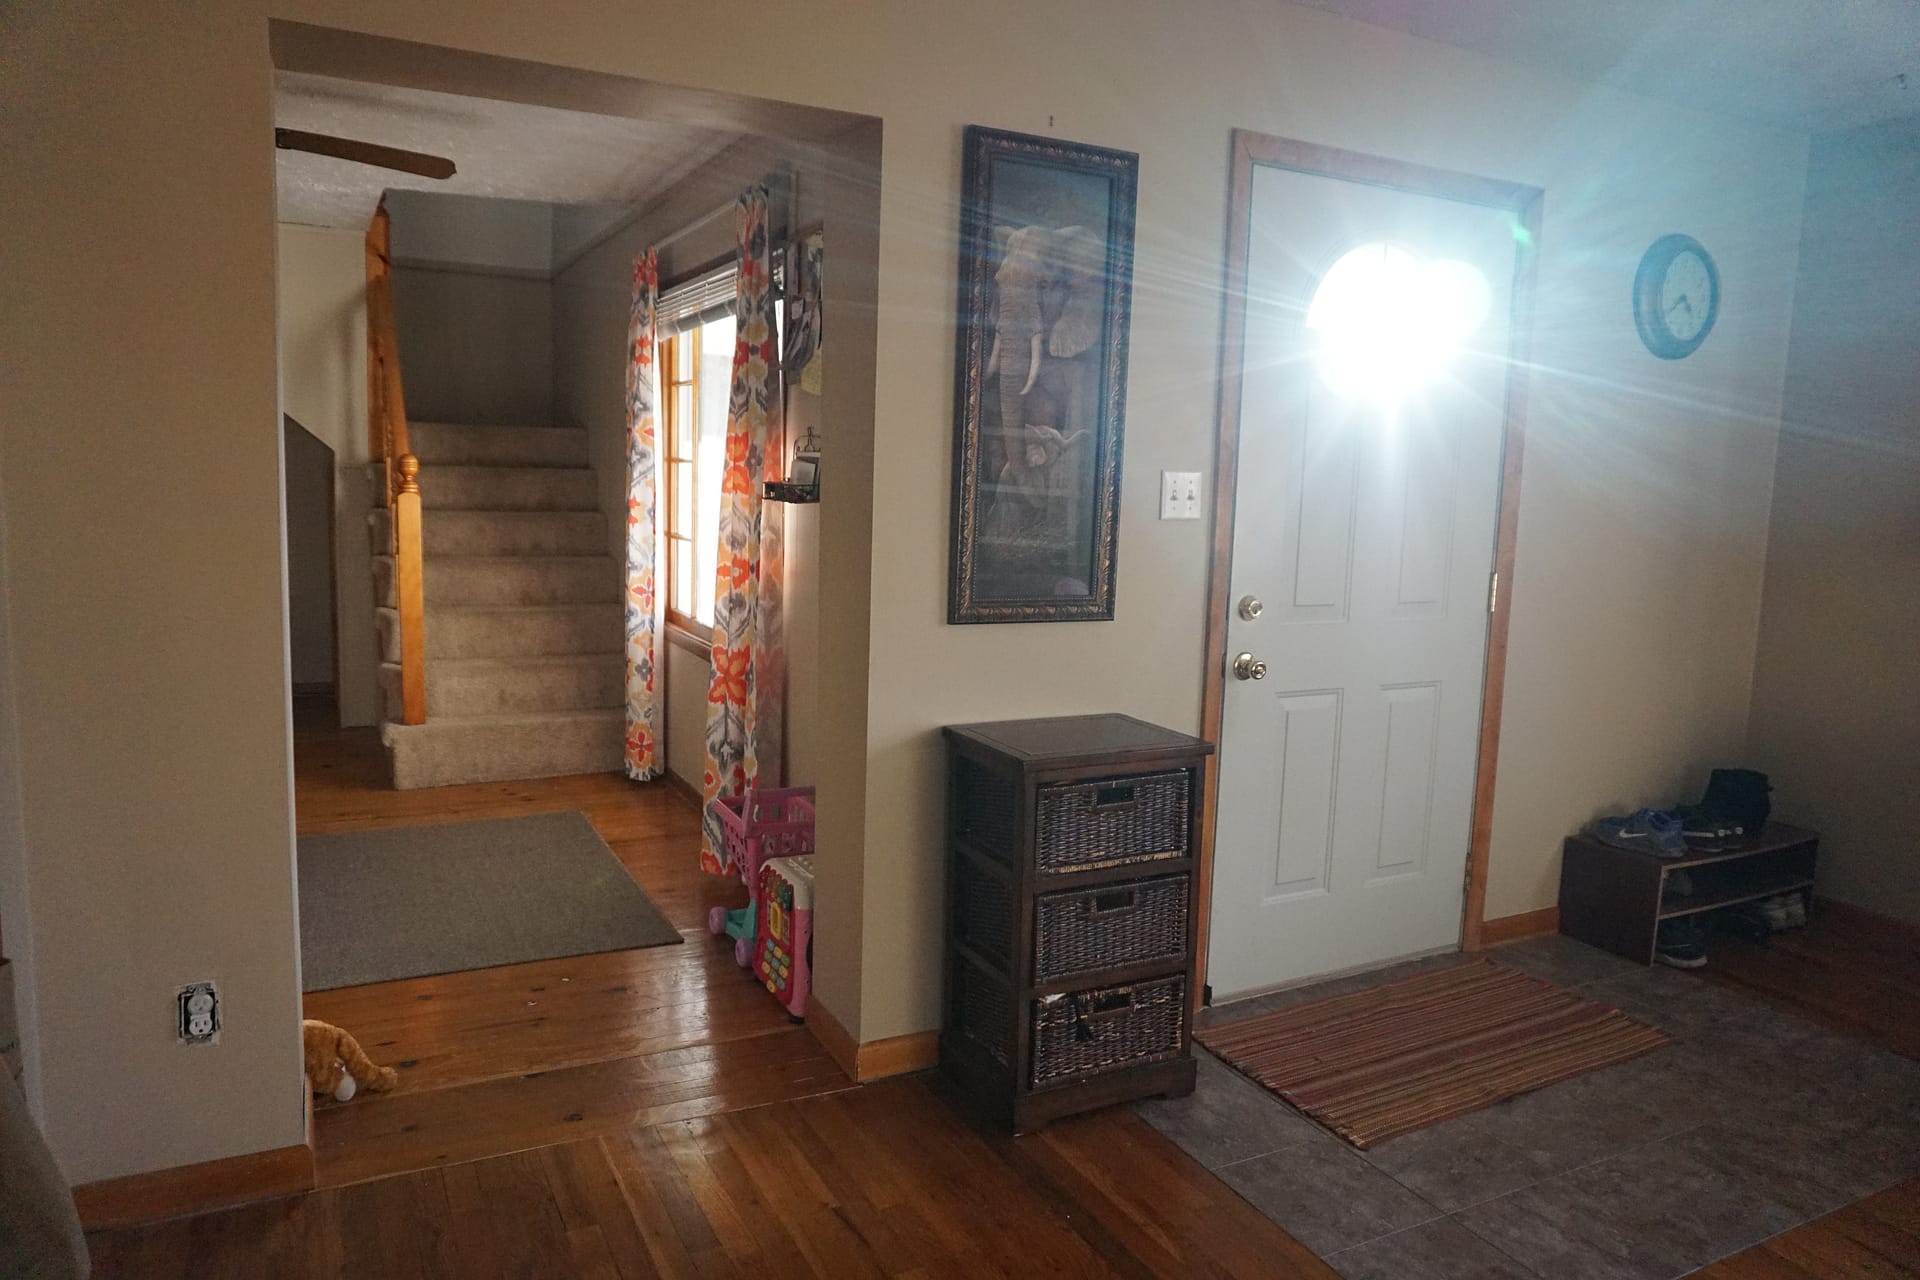
And now……for the AFTER pictures!!!
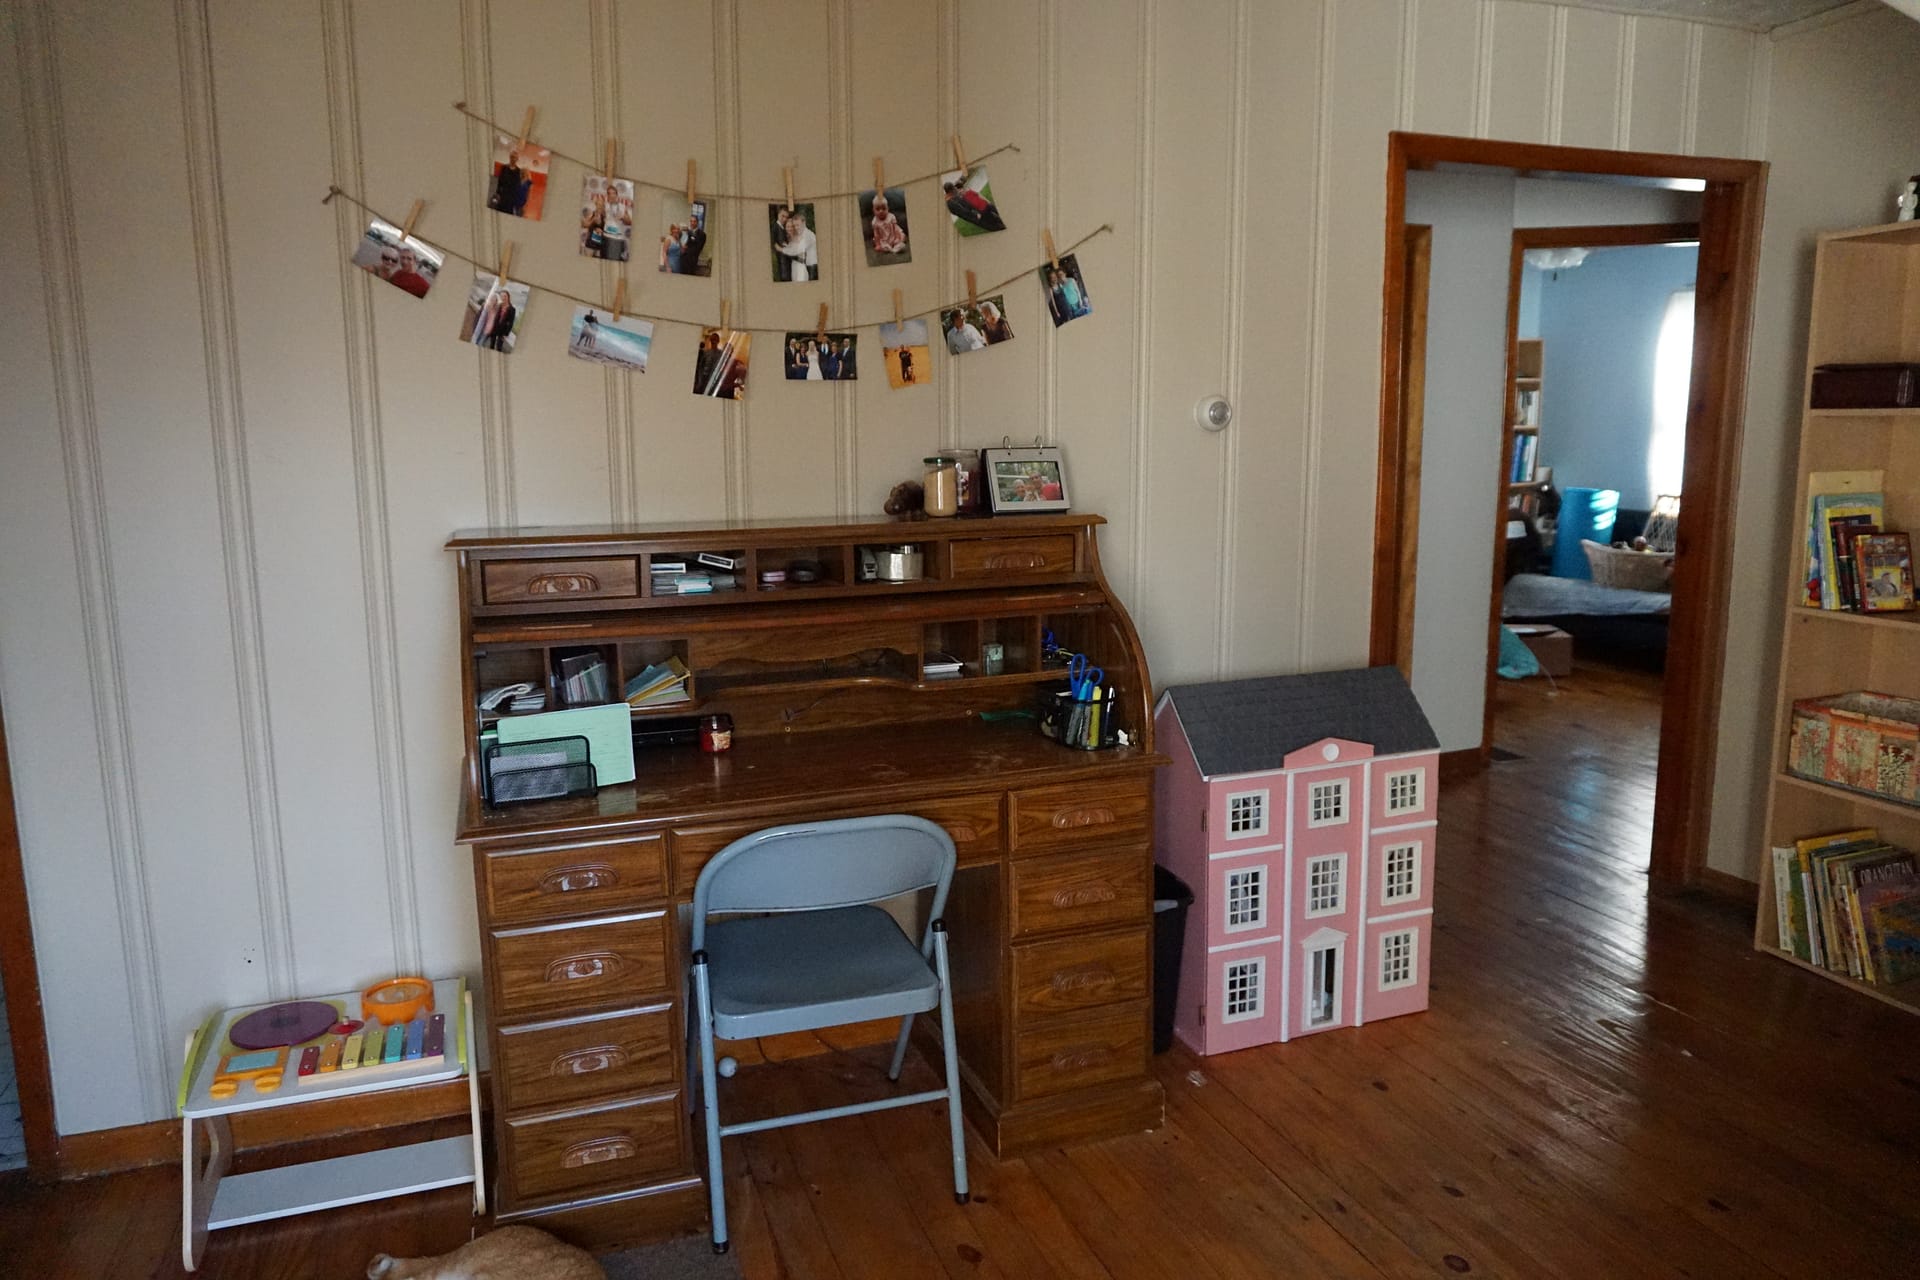
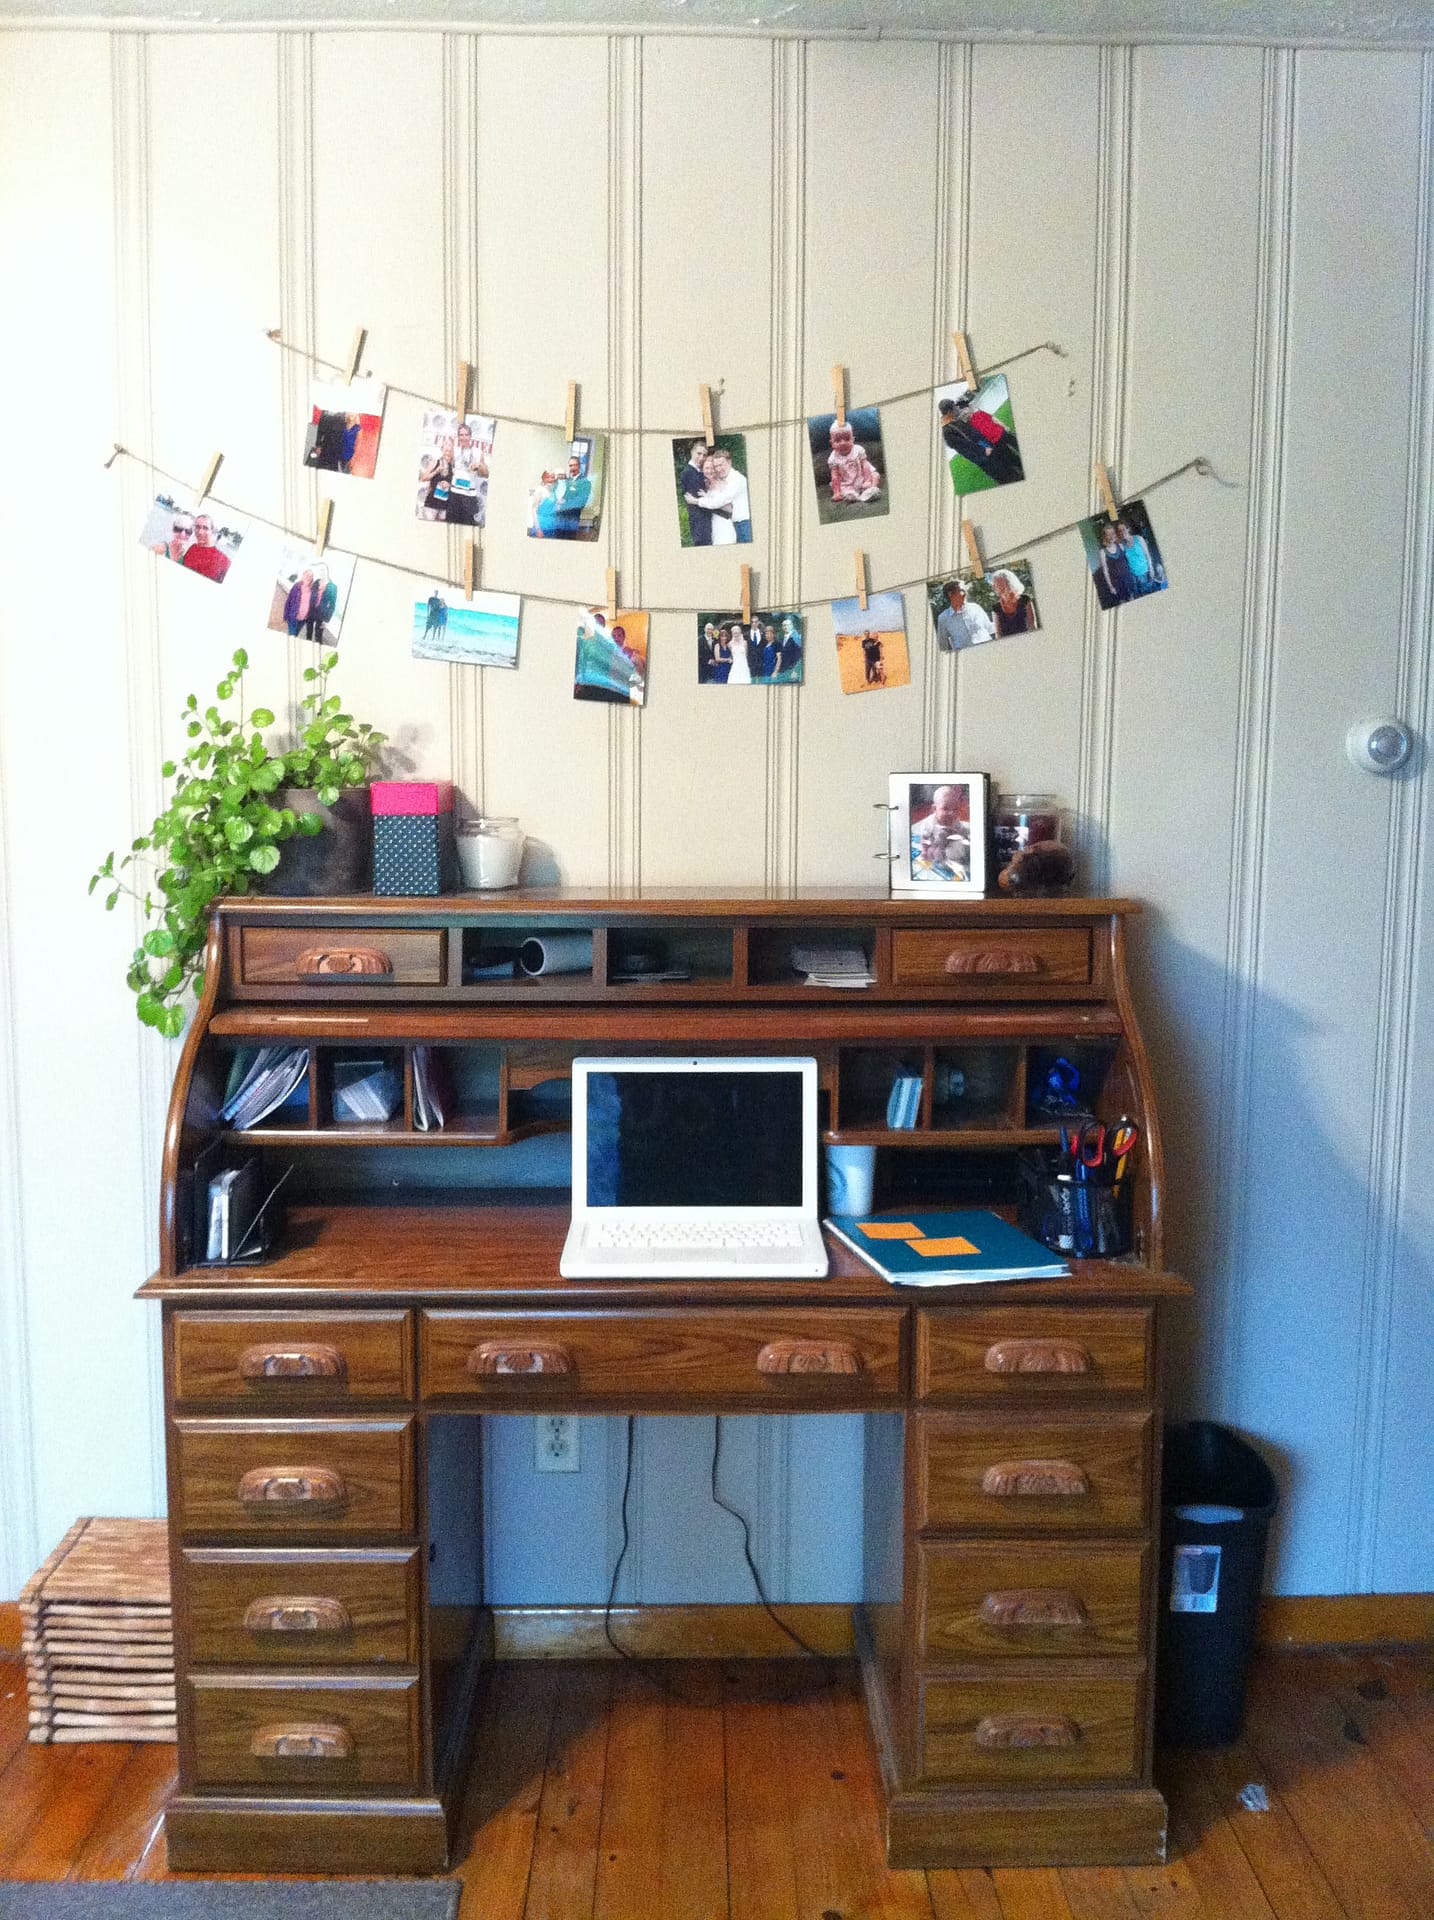
Before…
After:
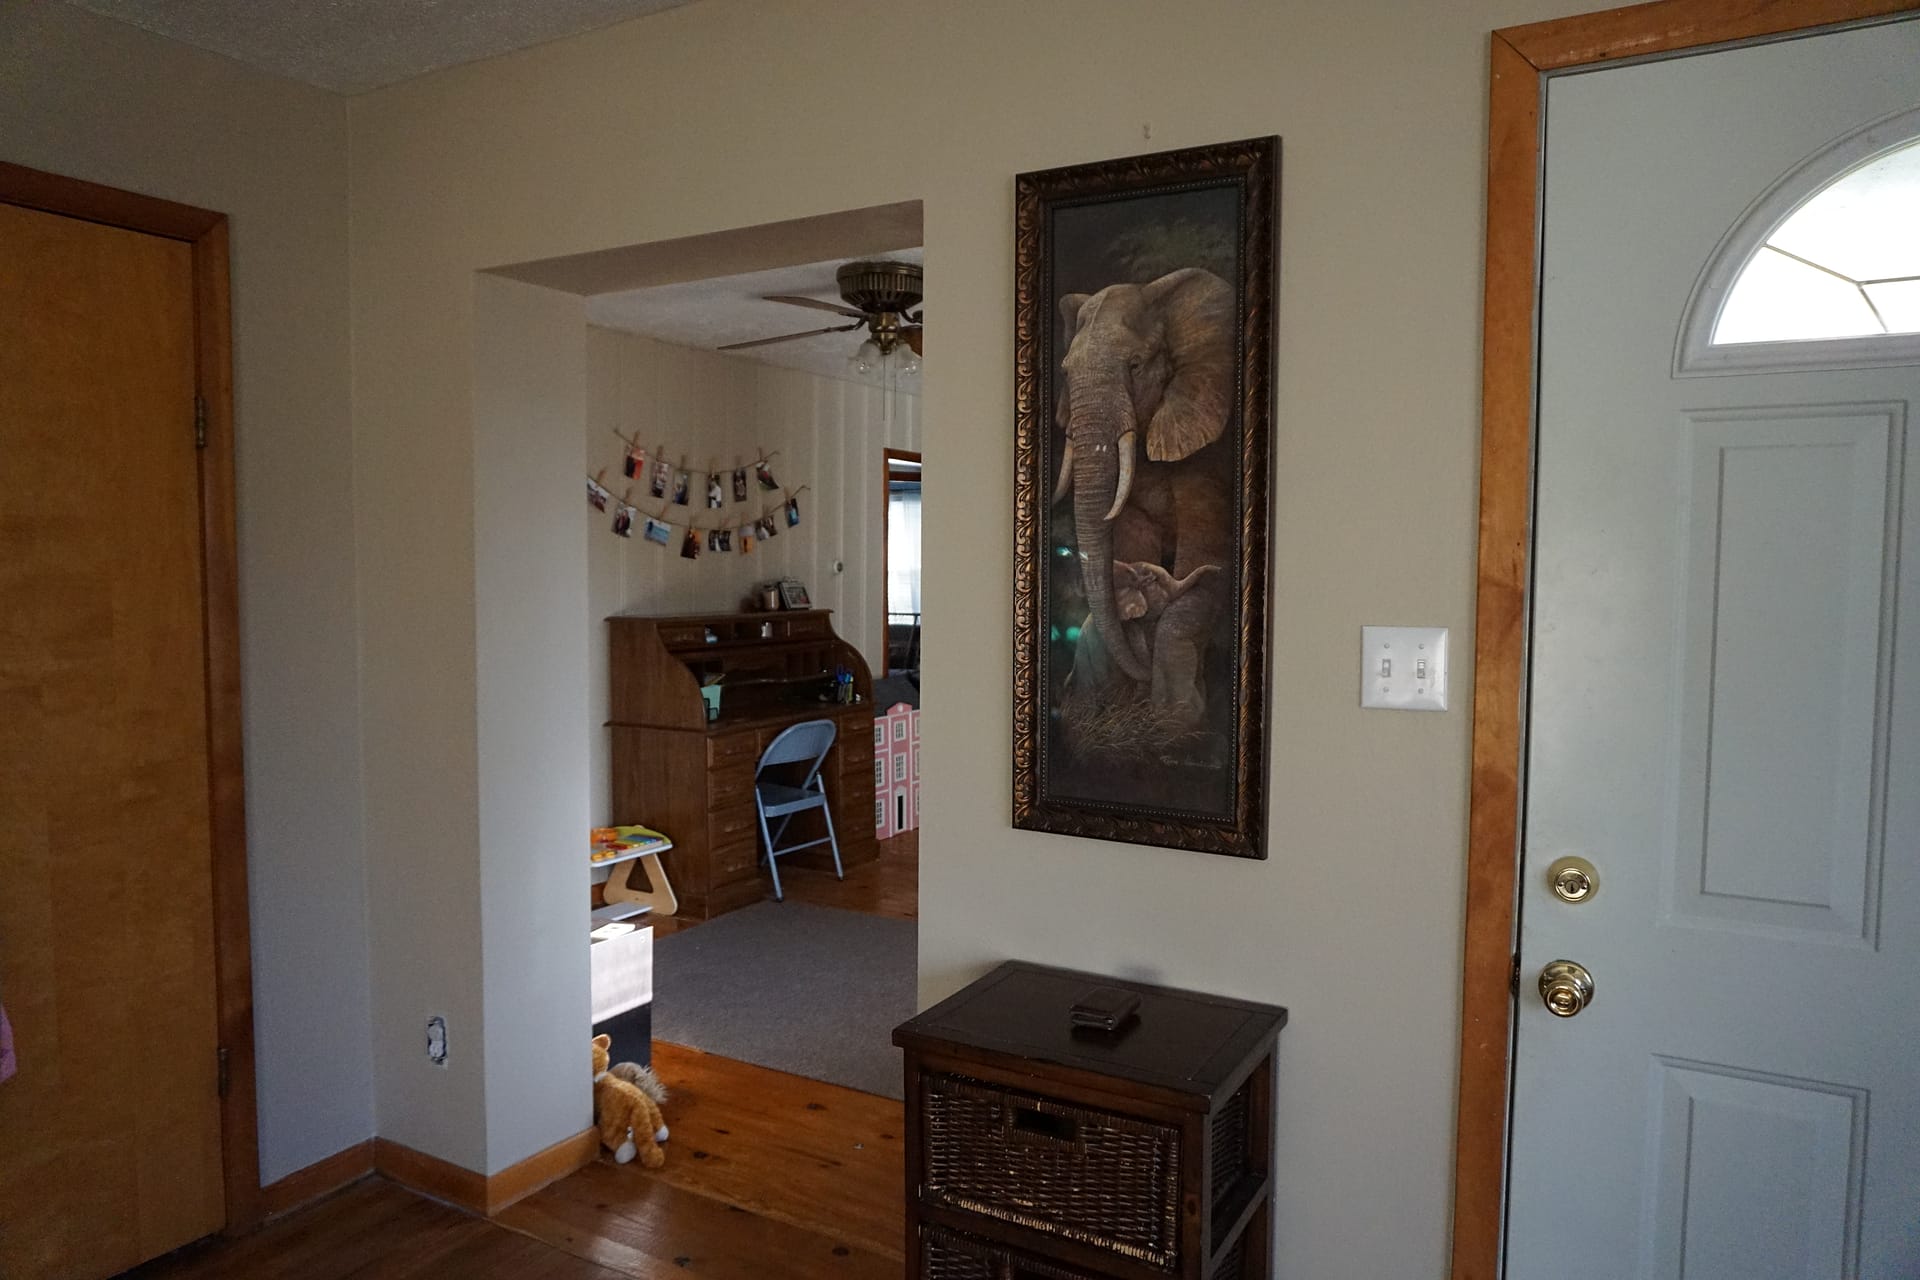
Before…
After…
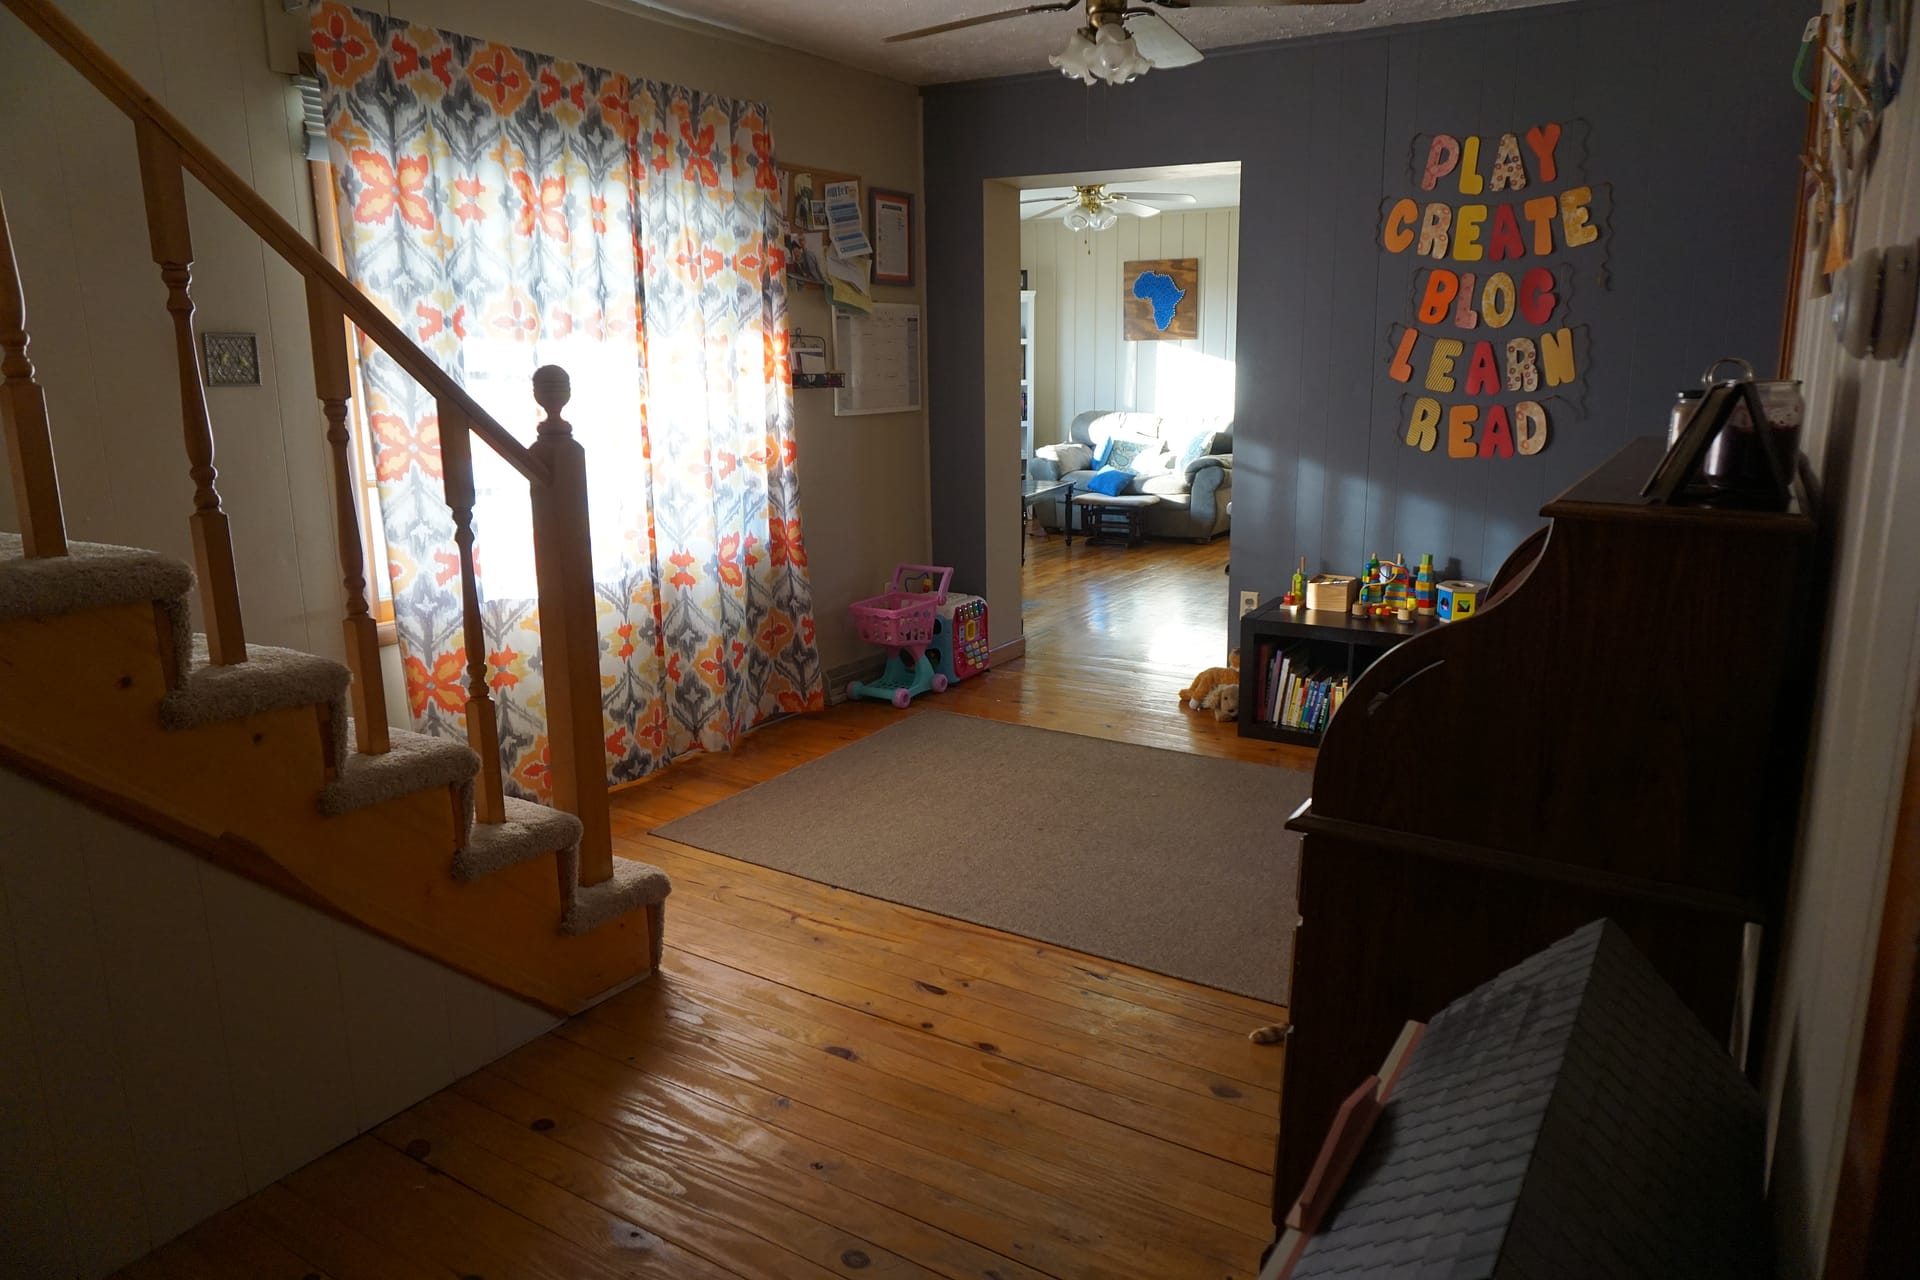
Before…
After…
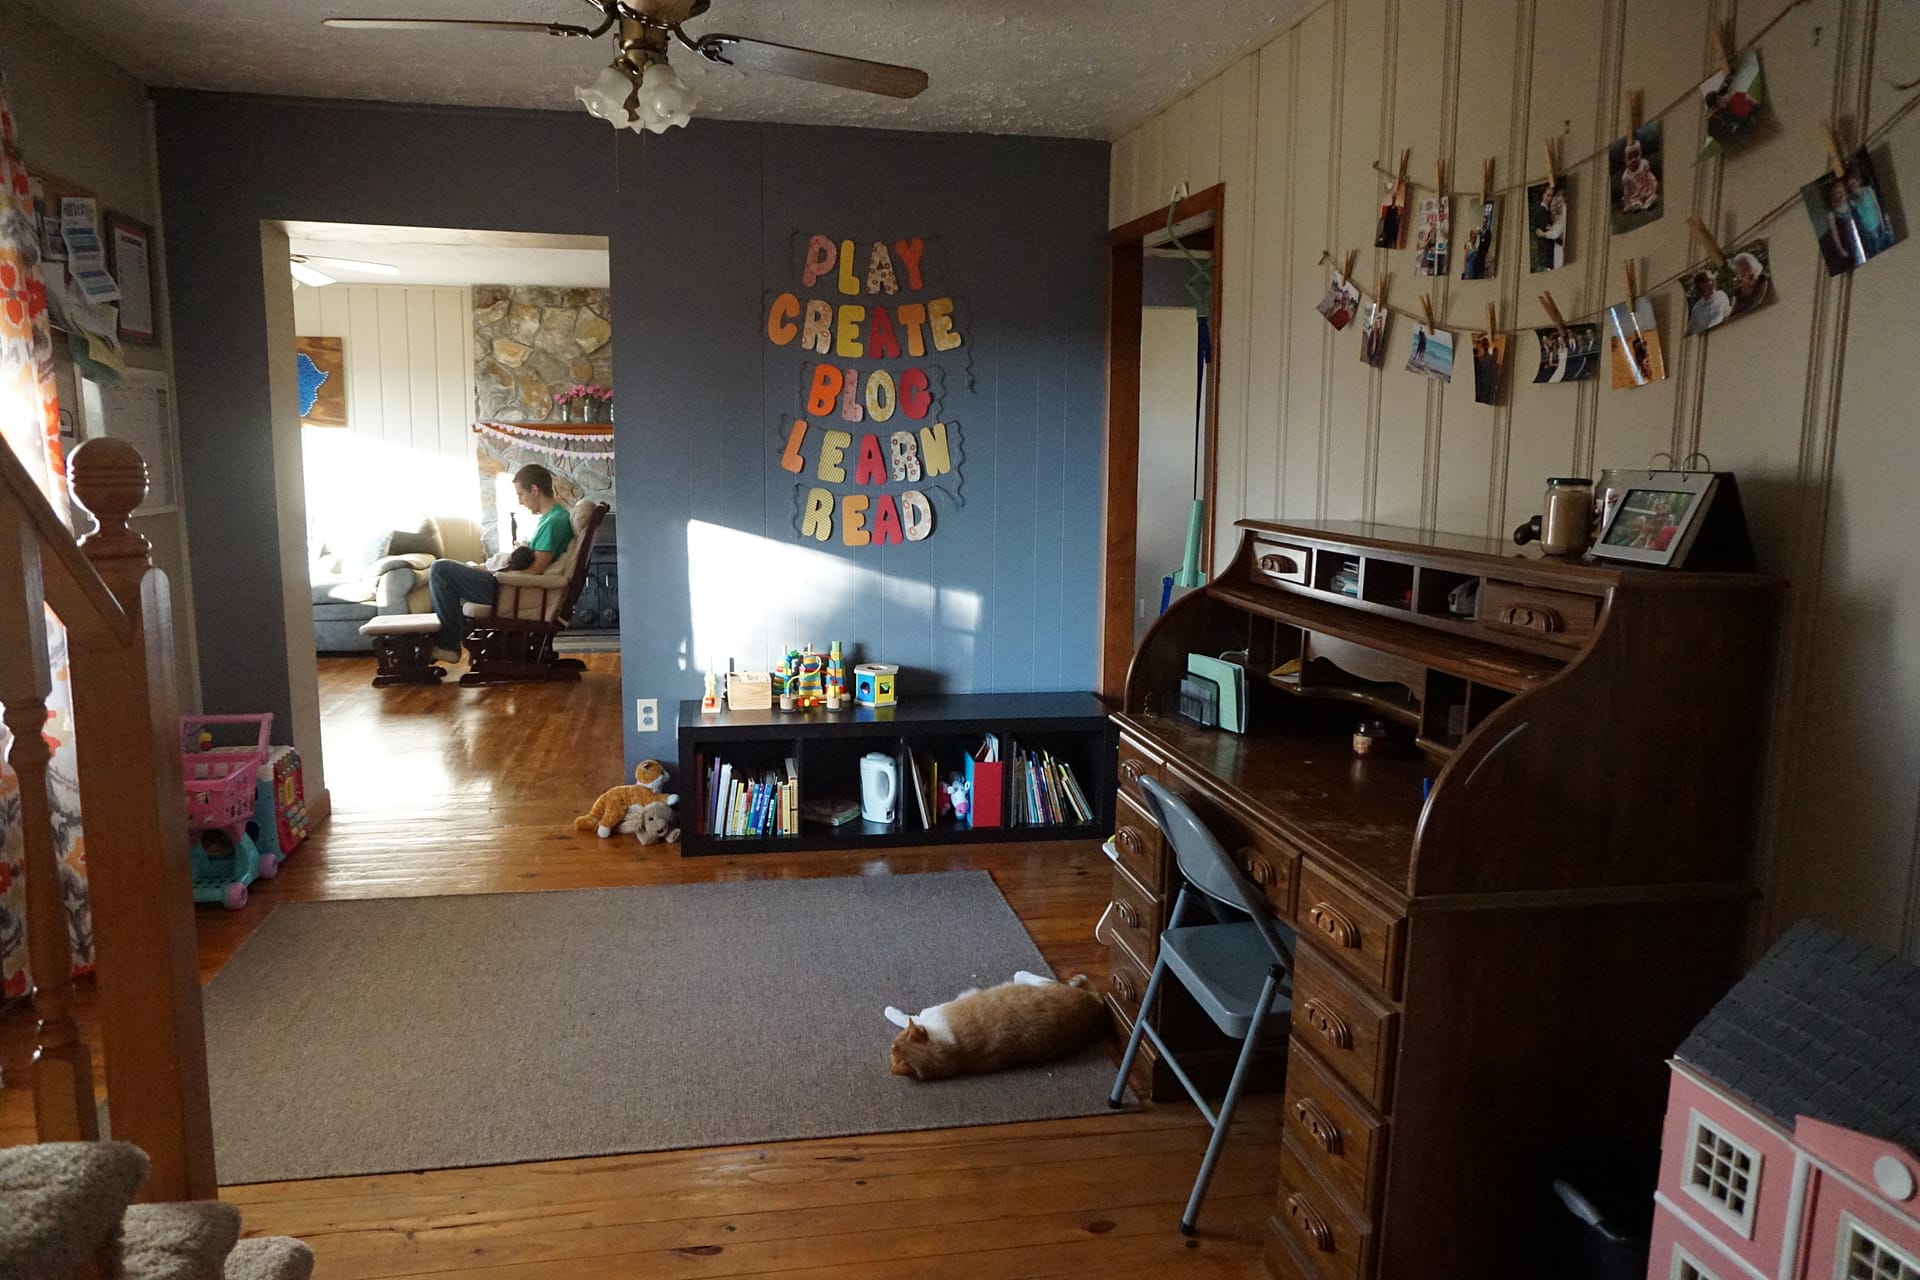
Before..
.
After…
Before…
After…
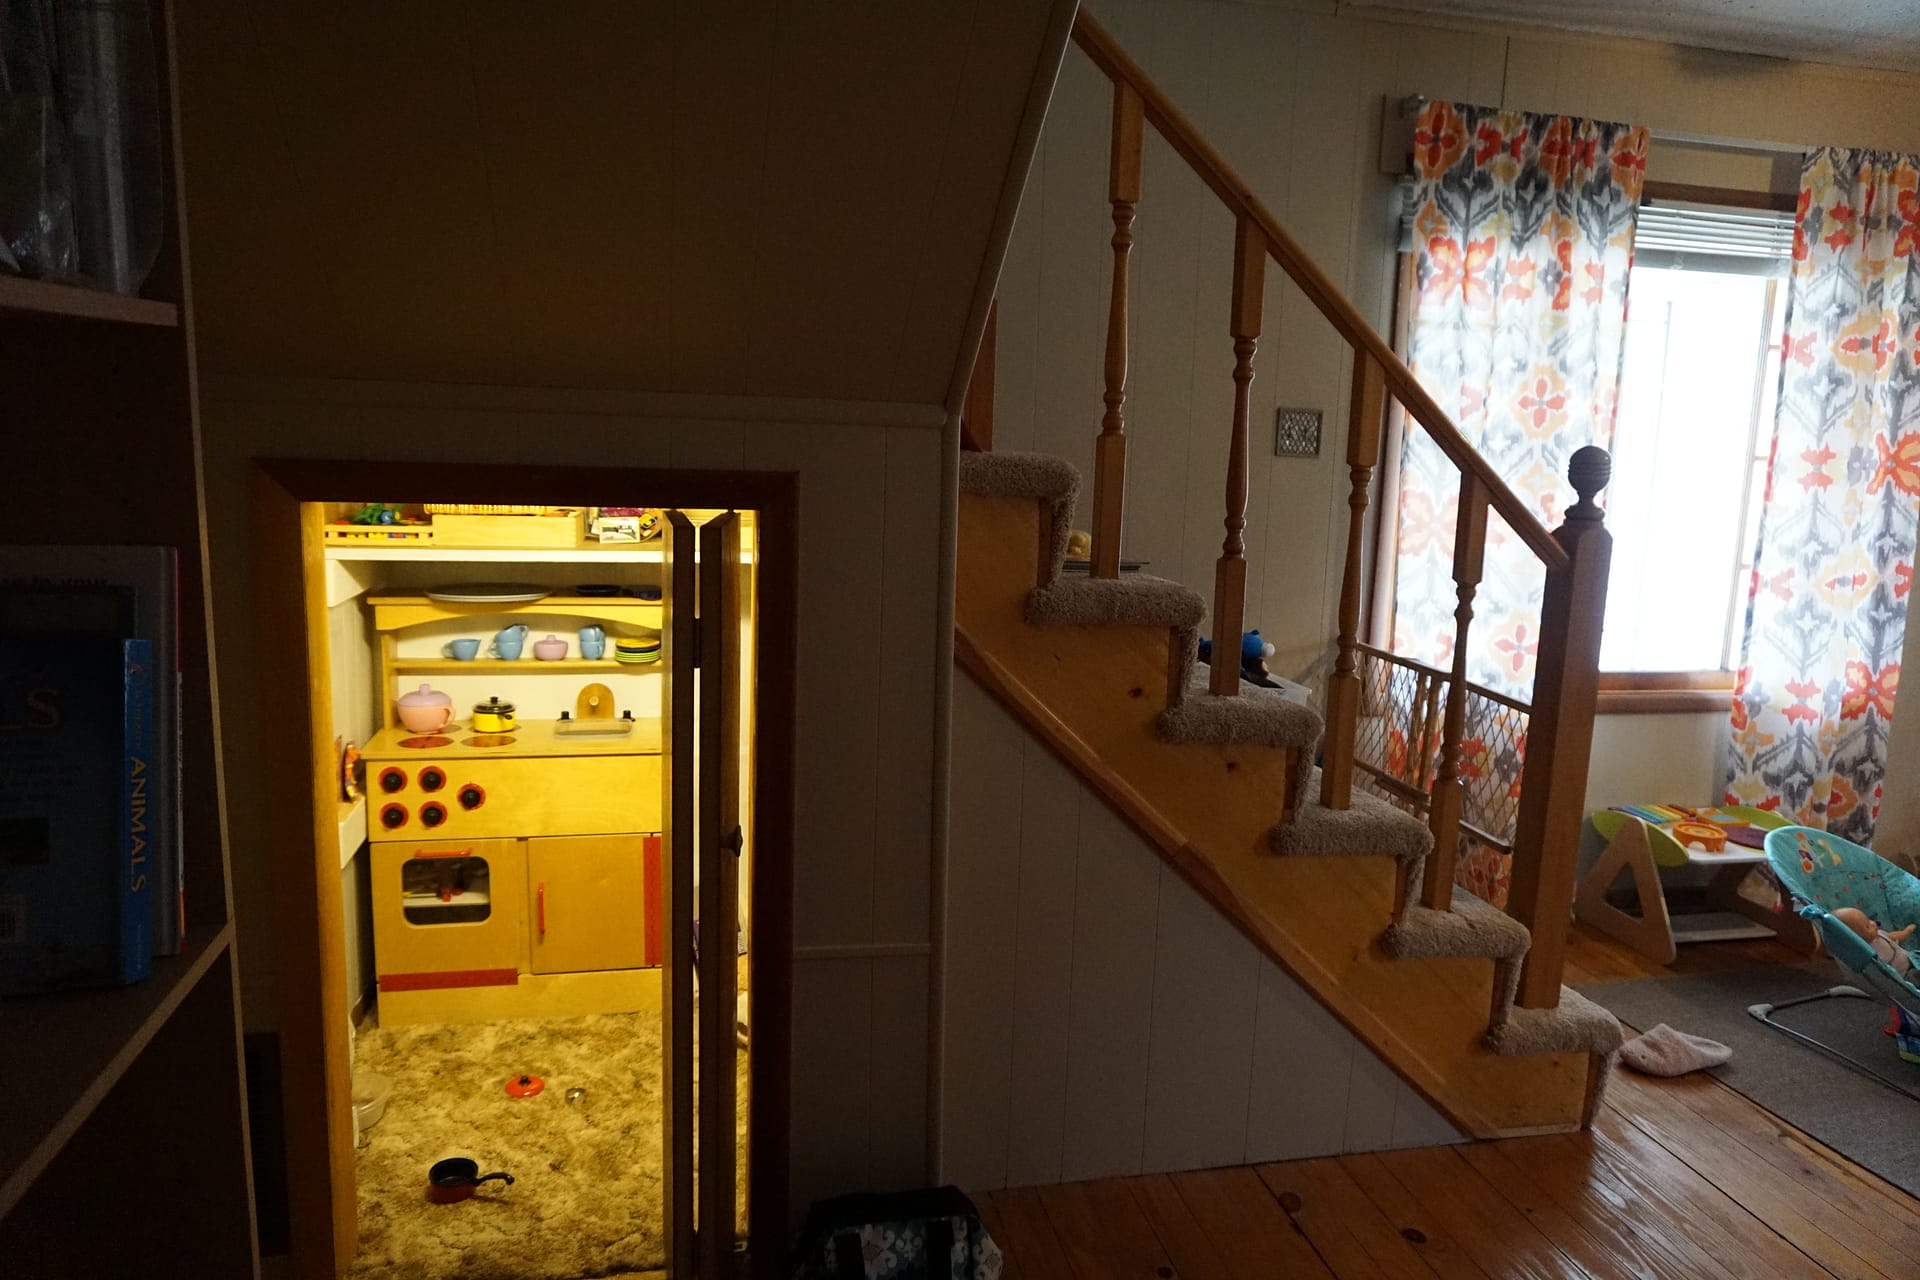
And a little sneak peak at the closet under the stairs:

And Tera’s little toy shelf is one of my favorites:
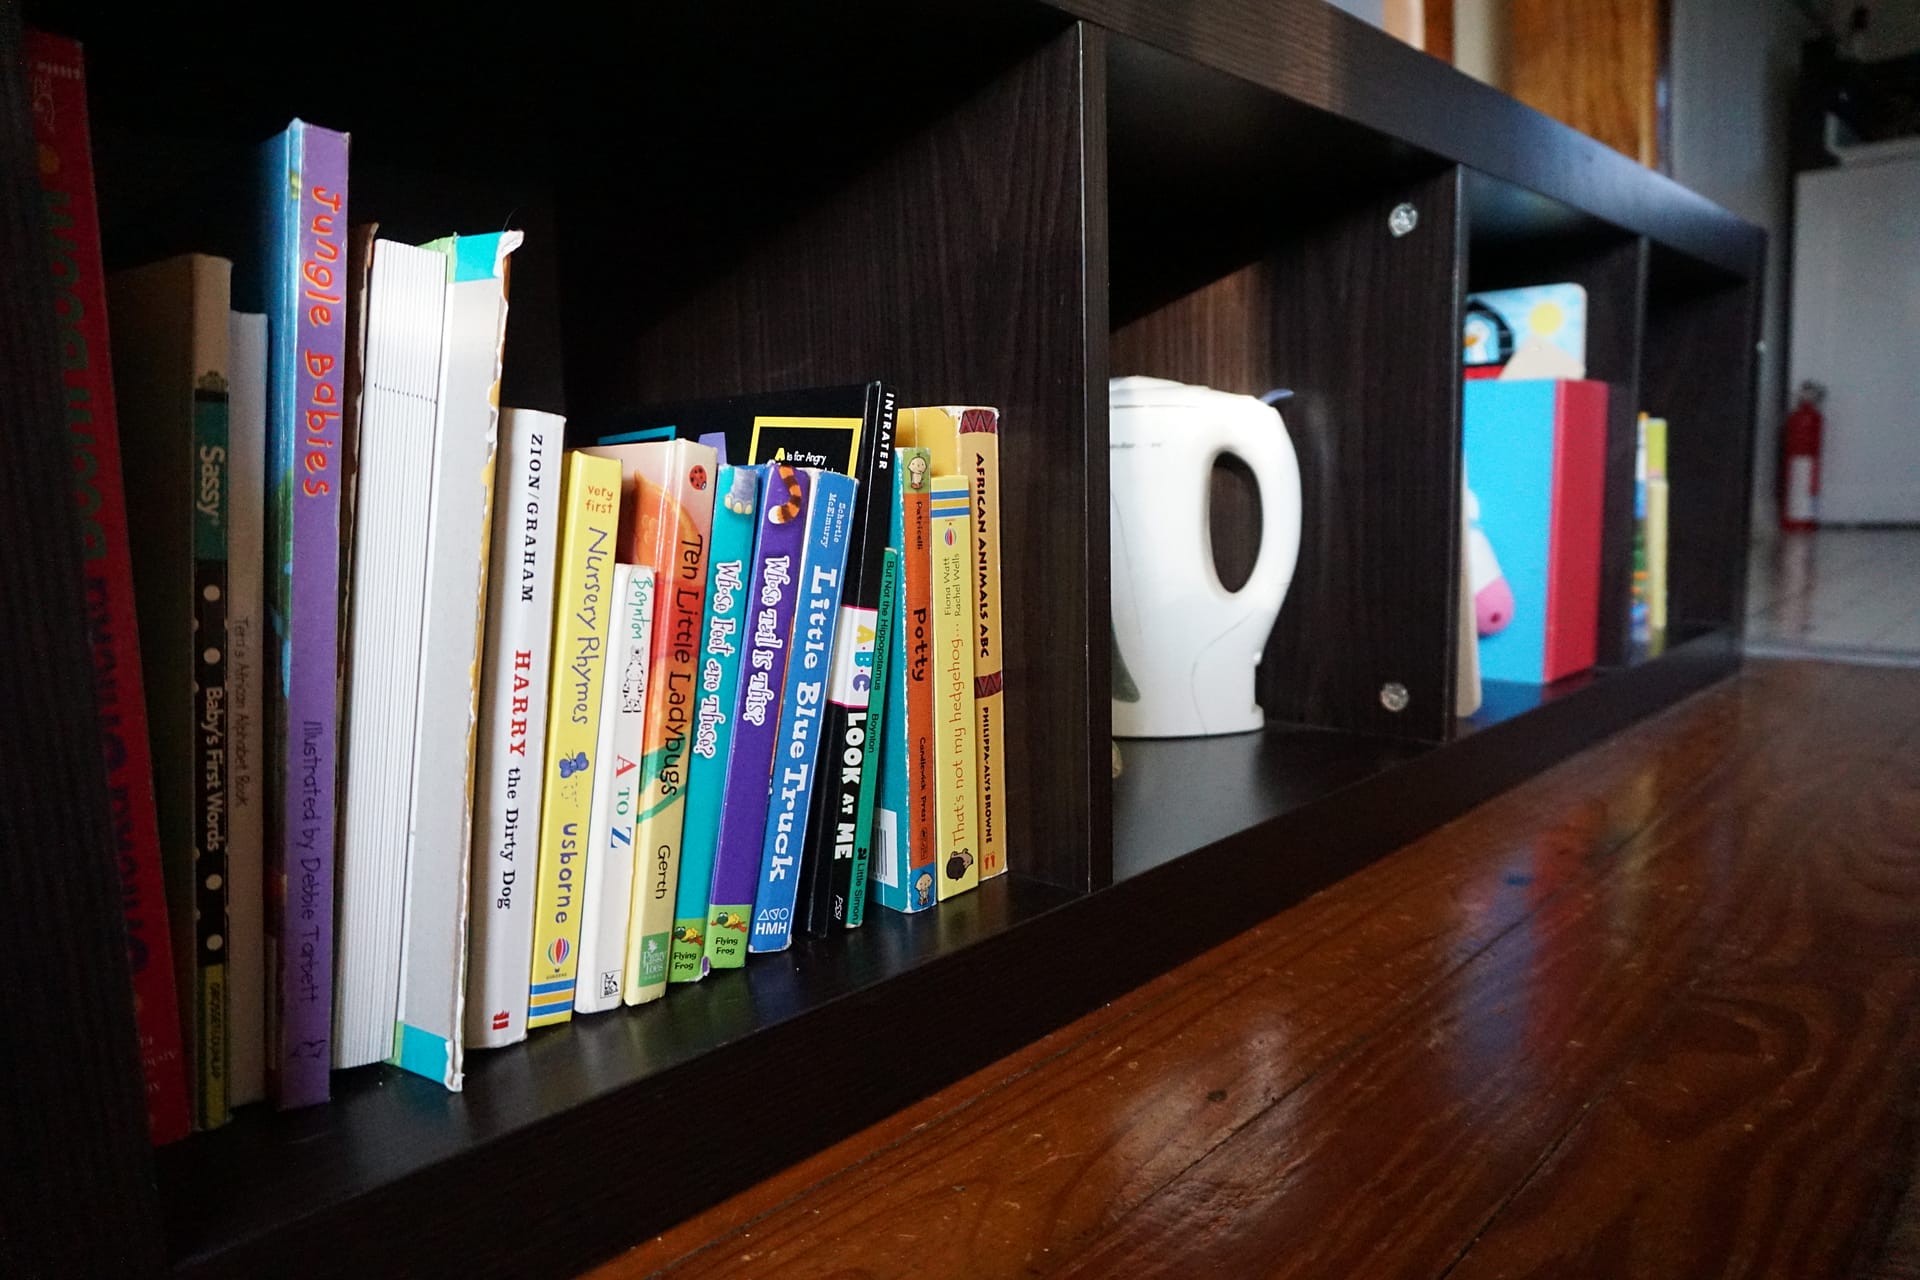
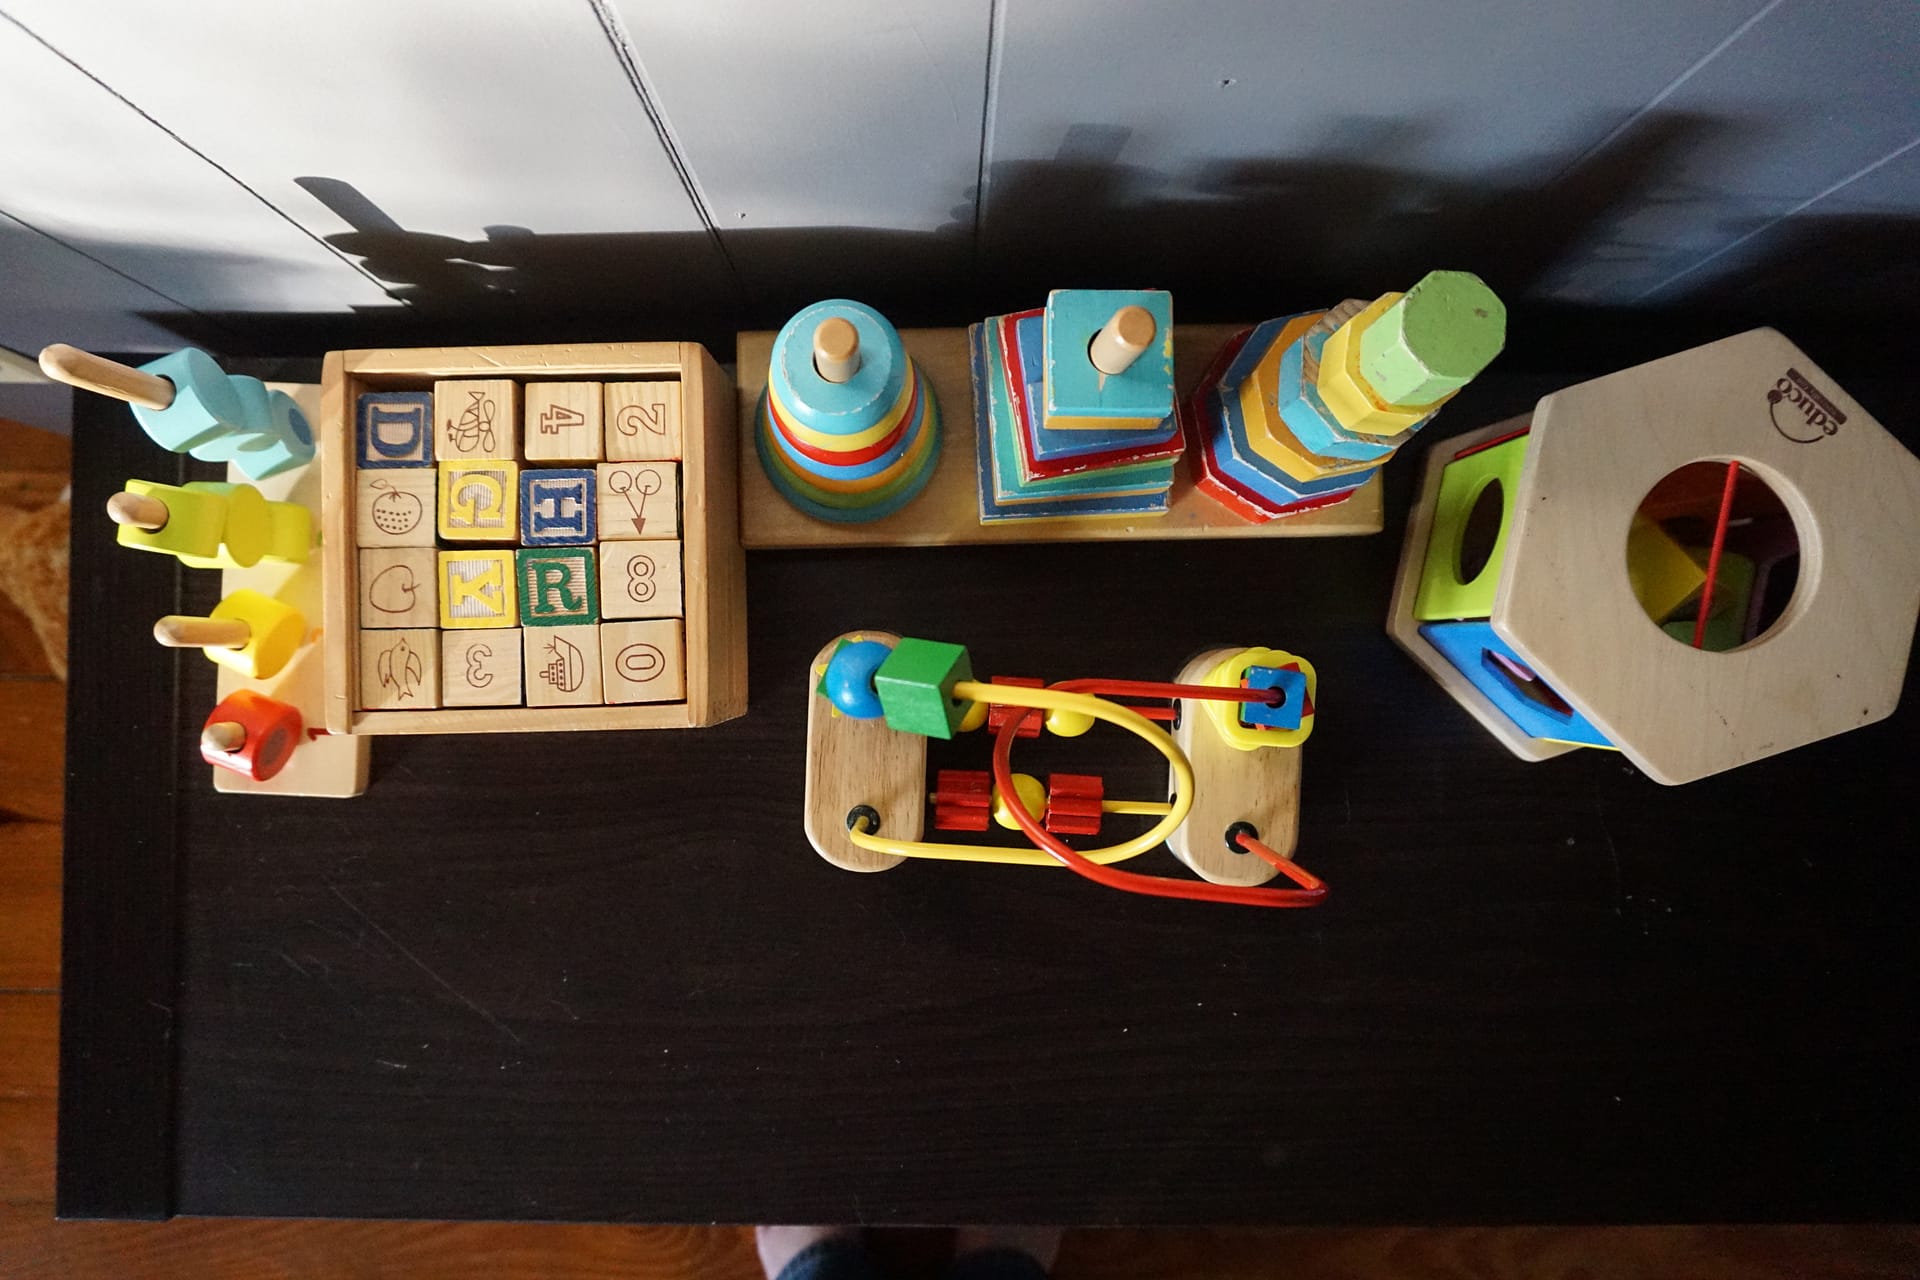
We love wooden toys!
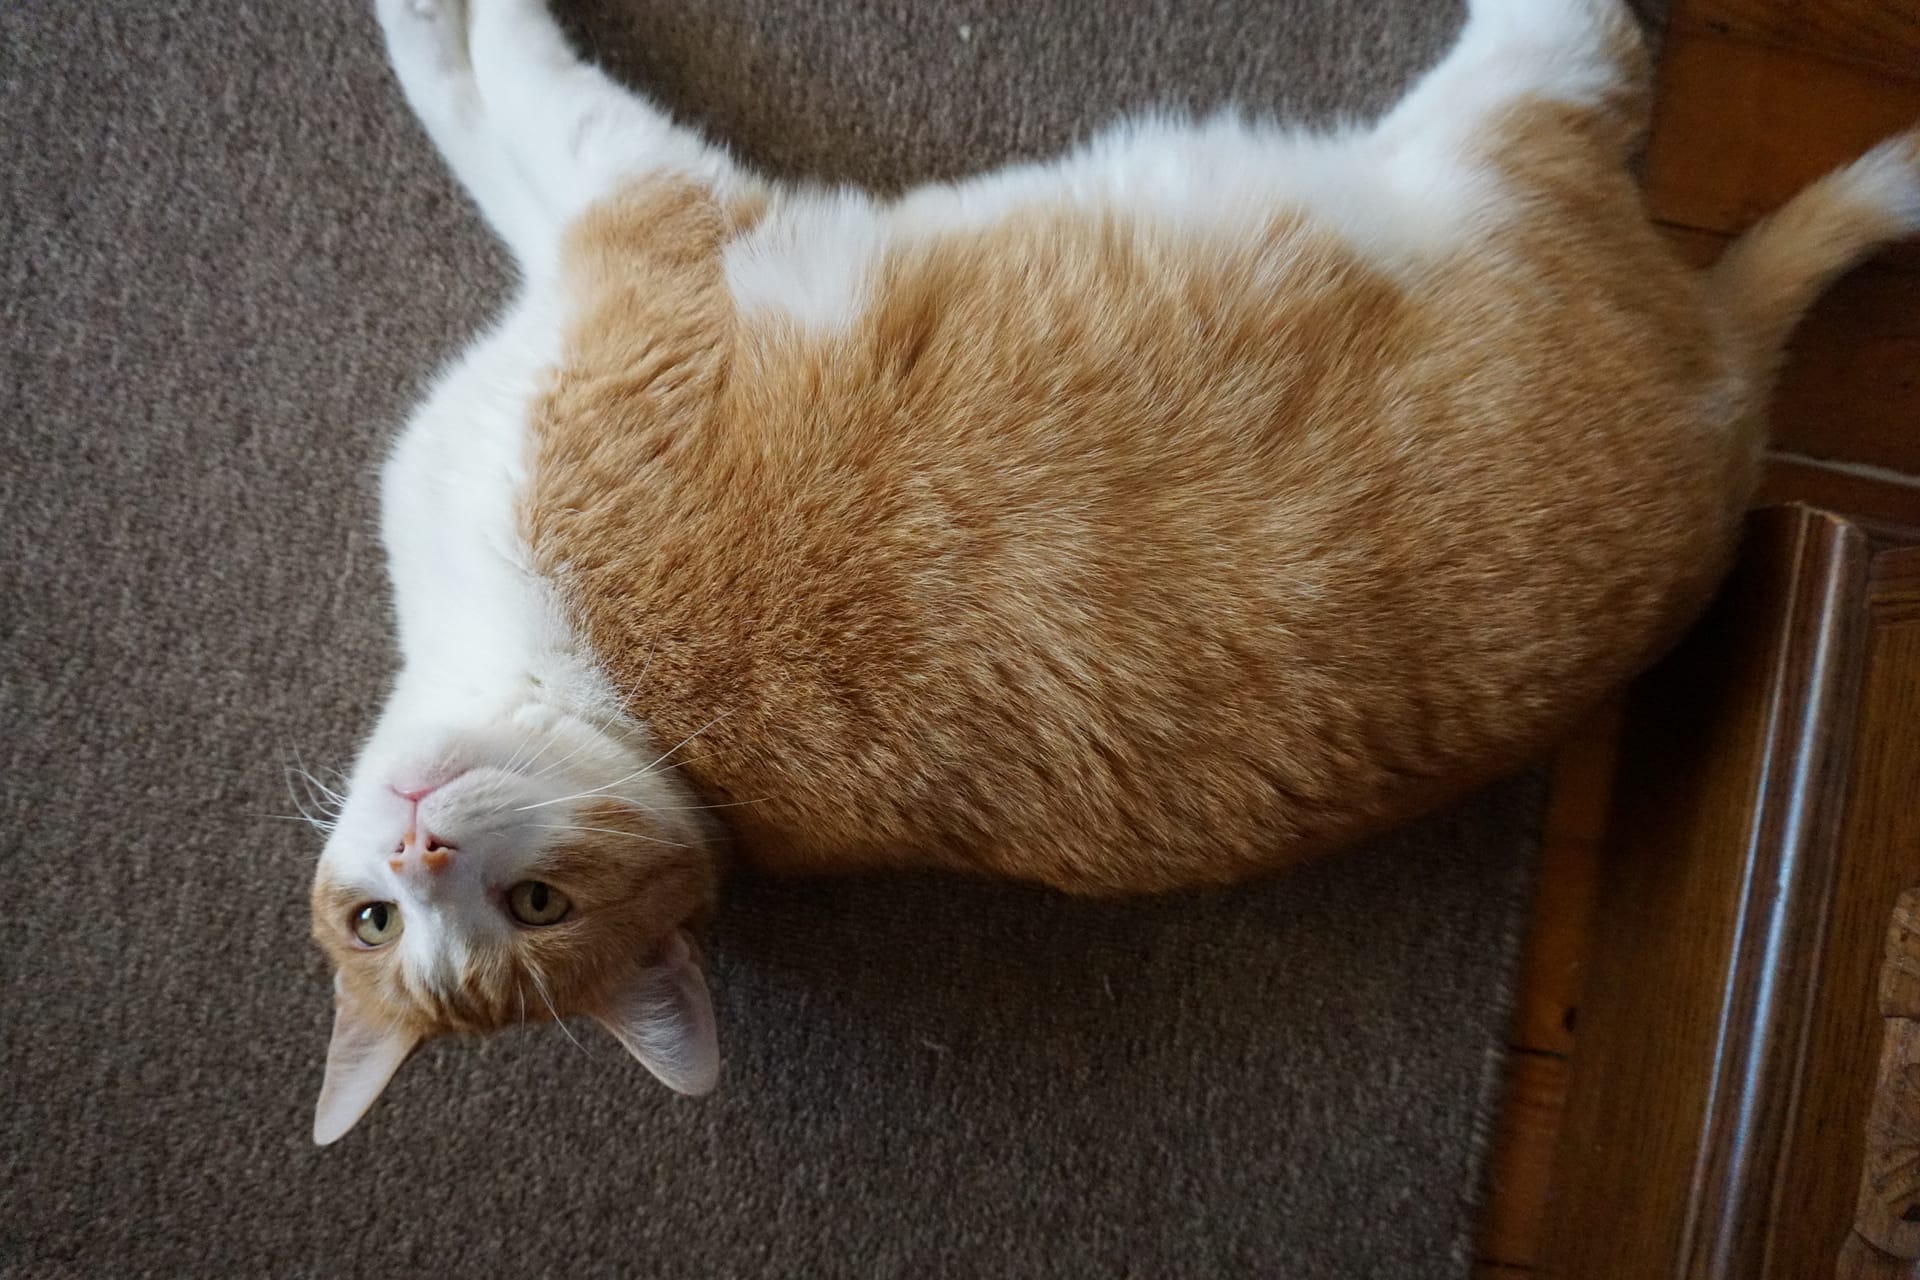
And Moose hung out with me the entire time I took pictures of this room…how many pictures can you spot him in?
And that’s our playroom/multipurpose room! What do you think?
Next up: the kitchen!!!
Every time I see pictures of the those curtains, I love them! Just looks like a relaxing place to be. 🙂
The before and afters are stunning! The before photos remind me of the house I grew up in: wood paneling, strange room connected to other strange rooms. You have turned it into such a cute and cozy space for play!