
As most of you know, we own several rental properties that are all on the same street. Each house has a nearly identical layout and square footage. So when we saw our current residence go up for sale and noticed something different about it, we really wanted to see it. We did a walk-through and almost immediately put an offer on the house. You see, the previous owners had added a living room space to the back of the house, bumping the square footage from 1000 to about 1300. Yes, it meant that the backyard was a bit smaller, but this space allows us to have a larger living room and a dining room. The original dining room is now more of a walk through and the original living room…well, that is what this post is all about.
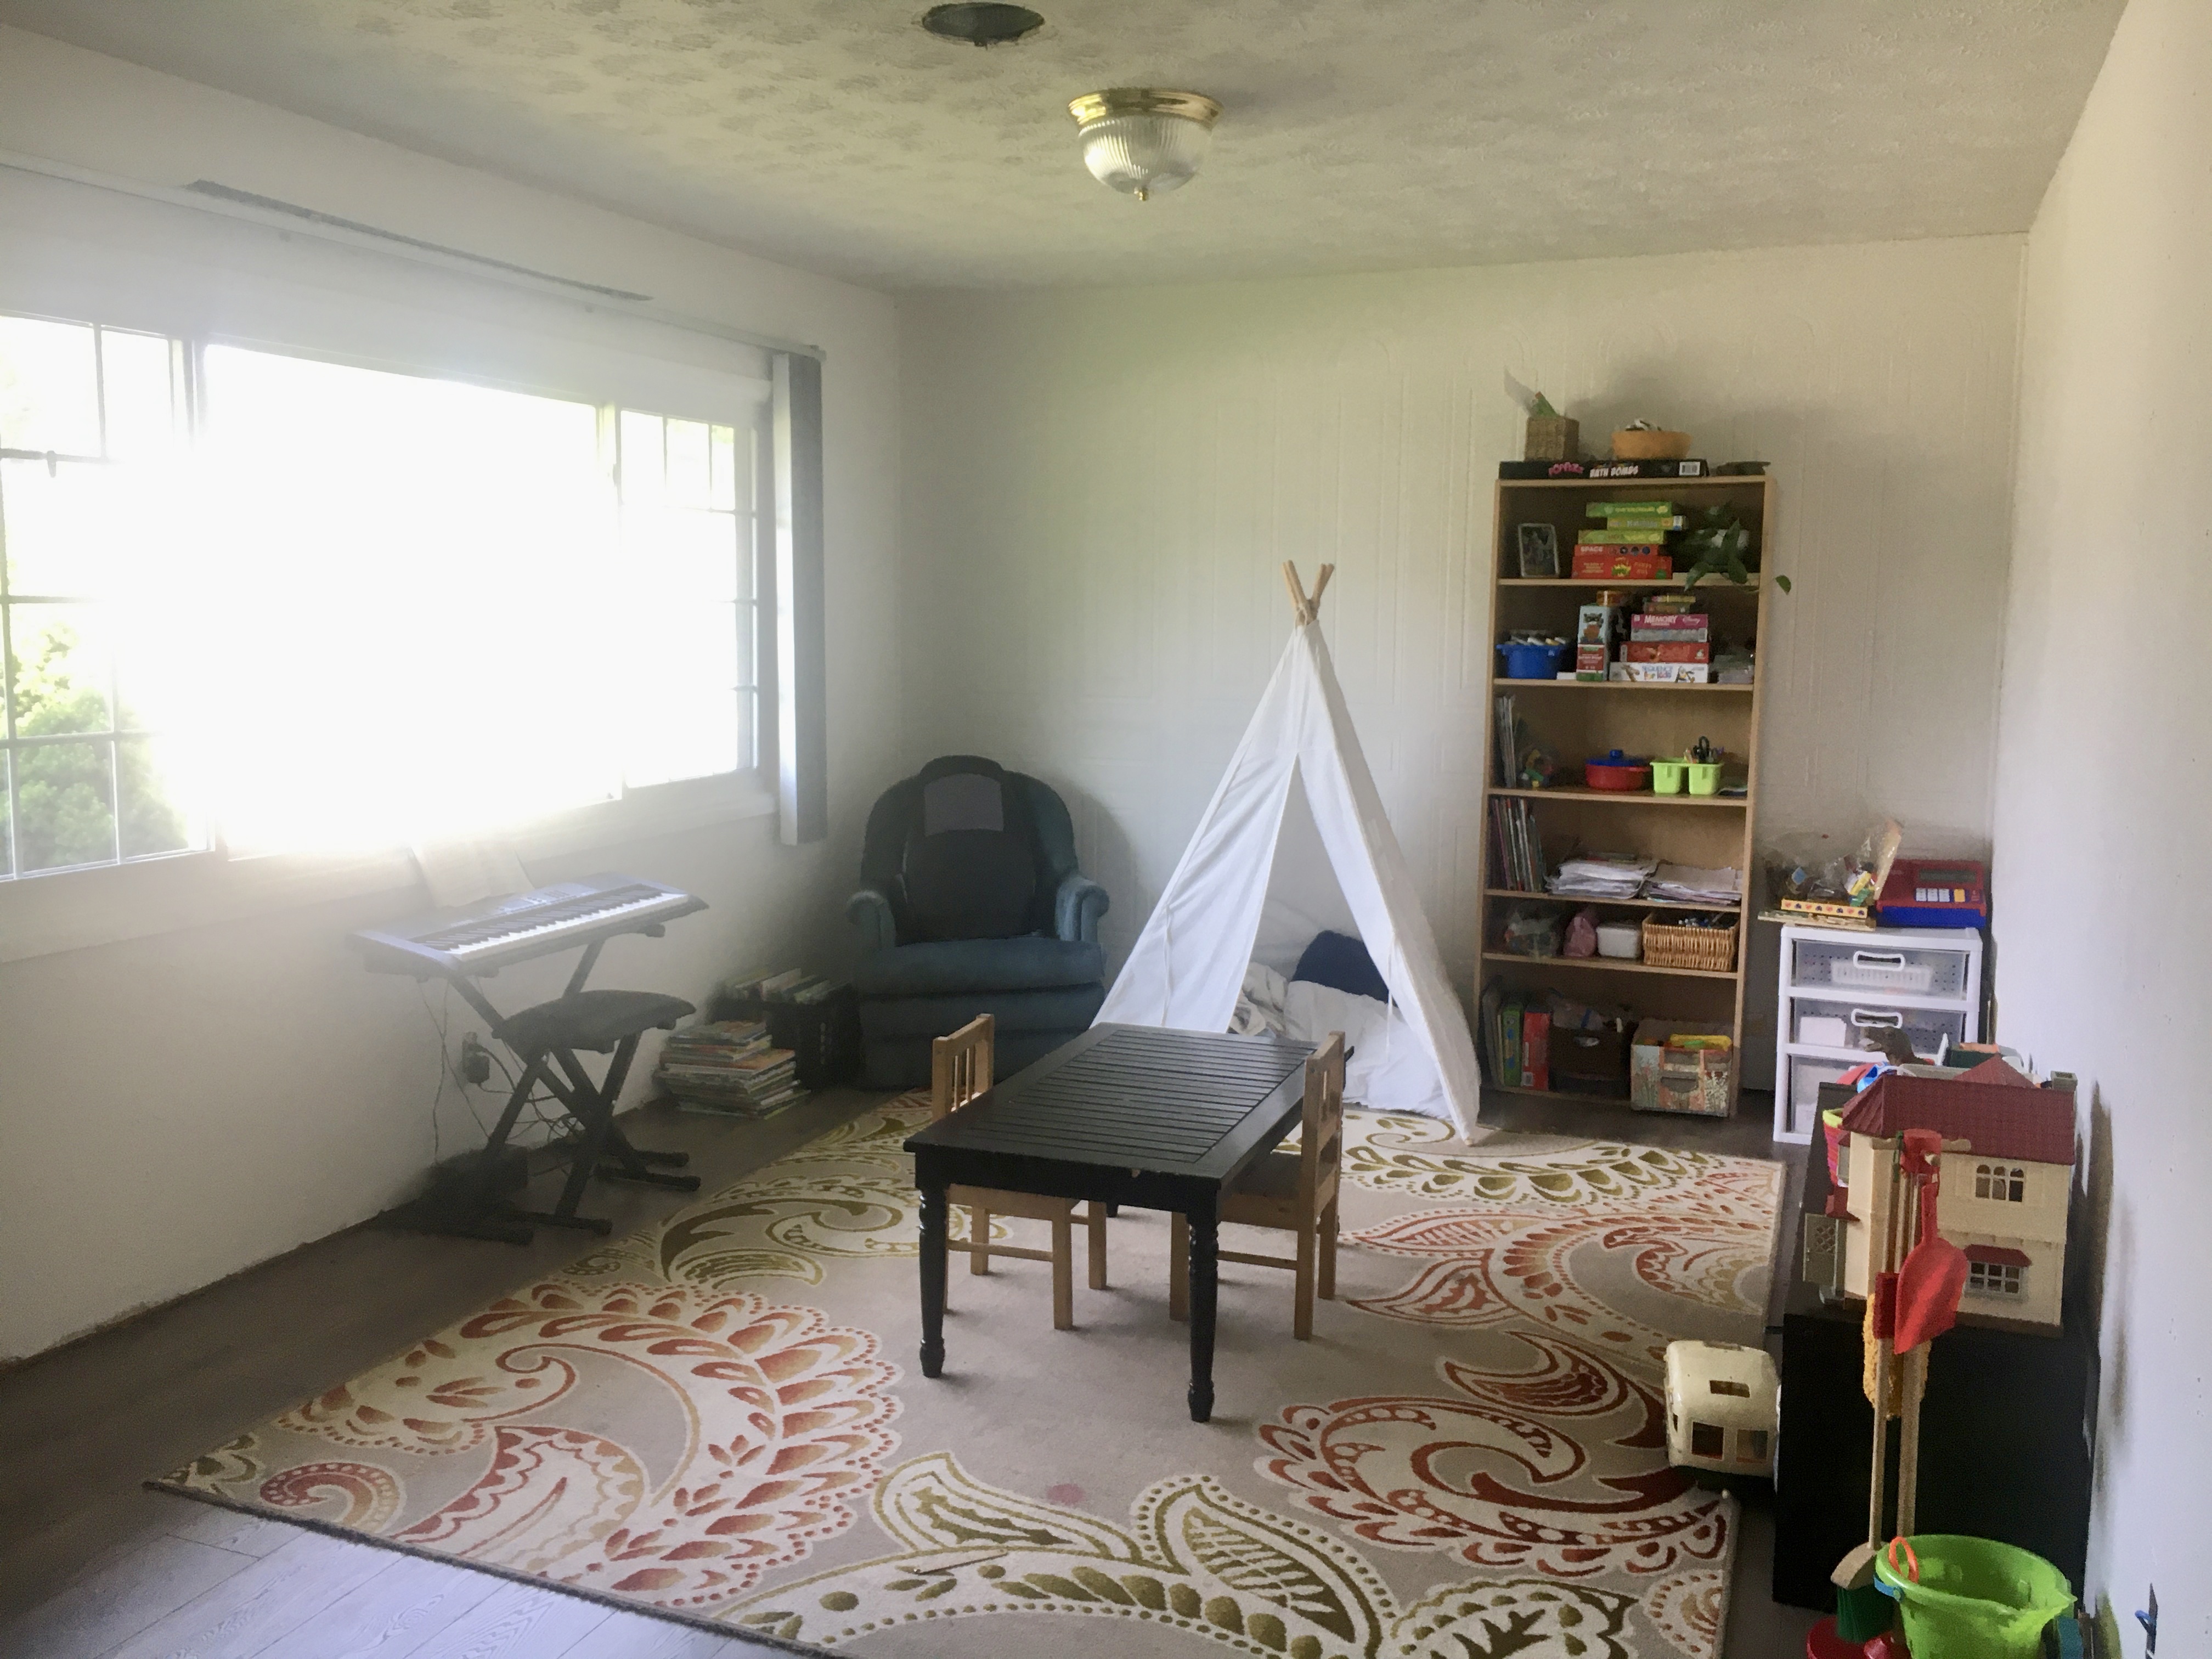
The original living room is at the front of the house. It gets a ton of natural light and the afternoon sunshine shines directly into the large windows in the afternoon. It’s not a huge room, but its the first room that people walk into when they come to our house. Since we have a larger living room in the back, this room was designated as the play room and for the first six months of living here also became the catch all room. It houses an exercise bike, it’s where we throw the kids backpacks when they aren’t being used, it has the keyboard and one random chair, and it has all the toys and most of the craft supplies.
But let’s back up to when we first bought the house. This is the room on the day we got the keys. Lovely red carpet, huh?

Don’t worry, the red carpet was gone within a few hours of having possession of the house. Haha!

While we had the floors all torn up, we painted the entire house and then Theo and some guys layed all the flooring! The room was already looking so much better!

We moved in when it looked like that, and this room became the play/catch all room.

To be honest, we rarely spent time in the room. There is not a lot of seating and so the kids or I would walk into the room, grab something and take it to another room to use. Then at the end of the day, the things would just be tossed back into the room. Very haphazard.
My dream for this space was to have wall to wall shelving and a desk unit so that all the kids and I could spread out and do school/work/crafting. I had mentioning it to Theo for a few months, but we kept putting it off because it felt like a daunting project. Finally, one very cold I somehow convinced Theo to start on it. I honestly thought it would take us a few months to complete the project little by little, but we somehow managed to knock it out in one weekend!

We started by painting an accent wall.


Next, we took a trip to Home Depot to look at shelving and countertops. We found some shelving right away, although we knew we were going to have to do some cutting to fit the shelves perfectly from wall to wall. But we could not find any countertops that were eight feet long and would fit in our budget. We finally agreed to check IKEA and other local stores for desks that might fit. Before we left, an employee recommended that we check out the workbenches. So we wandered over to the workbench section of Home Depot and saw the most beautiful desk top on an industrial workbench. Theo fell in love right away. I was a bit more hesitant. It looked so industrial to me, and in the store it had wheels on it, so it was hard to picture it as a desk. However, we decided to go ahead and get two and Theo said he would always use them in the garage when their use in the house was done. Theo put the desks together and we discovered that they raise and lower as well.


Next up was adding the shelving. This was the most painful part of the project, as we had to hang the brackets into the studs. But I also wanted the brackets to be evenly spaced and symmetrical, so our options were quickly becoming limited. Theo had a stud finder, but it wasn’t working well enough to find the studs and then we were getting all confused because the design on the wall seemingly matched up with the studs but apparently didn’t after all. Theo ended up having to take off the trim at the bottom of the wall and visually locate the studs before he could hang the brackets. Once that was done, hanging the brackets and shelves came together very quickly!
Also, anytime I reference “we”, what I really mean is “Theo, with me watching”. Ha.
Once the shelves were up I started to fill them with our books and art supplies and fun little knick-knacks! And then it was complete:


Here is a good before and after comparison:
This project took us three days and now we are all projected out for about six months. Haha. We like to DIY our projects, but it also takes.it.out of us. We thankfully don’t fight or argue much, but Theo and I have very different ways of working on and accomplishing projects, so there is also a lot of discussions.
I love the difference in this room, but it’s not done yet! As you can see, we seriously need to get a new rug that matches better. I am also on the lookout for a couch for this space since we now spend a lot of time in this room!
I also know that my shelves are not styled to perfection nor will they get pinned on Pinterest. But I wanted them to be both nice and functional. I don’t want every single item to be out of sight in a bin or basket because I still want my kids to see and have access to all their craft supplies and sensory experiences. So you will see our kinetic sand and puzzle pieces and games. One day as my kids grow older I’m sure these shelves will shift to hold lego creations and then maybe it will change to hold just books and who knows what after that! But for now my kids are in the stage where they need to be able to see what they can play with and these shelves are helping them do just that.
I absolutely love how this room turned out and we sure do enjoy spending much of our day in here!
I love it.
Can’t wait to see it.